Repairing Krups EA8800 bean to cup coffee machine episode 2

Here is a presentation of a second repair I did on my Krups EA8800 automatic coffee machine.
This time, my coffee machine gets stuck sometimes. The piston blocks in lower position. I have to say that my machine is now six years old and has more than 6000 coffees on the counter (thanks to telecommuting and Covid). The only solution is to turn off the coffee machine for fifteen minutes and then turn it back on.
I have to replace boiler / piston part.
Once again, I could easily order the parts from Midi Pièces Ménager for 100€ shipping included. The repair is expensive, but the coffee machine costed 800€ new…
Parts needed:
- Piston/boiler assembly available here
- 4 new clamps (do not forget to order) available here
Disassembly and reassembly
Step 1: Disassemble the machine
For this step, I invite you to follow the guide from the previous article until step 3. Skip steps 4,5,6 then follow steps 7 and 8.
Step 2: Front panel disassembly
Remove the front panel by removing the screws on the left and on the right at the bottom of the machine.
Step 3 : Disassembly of the top part containing the grinder
Remove the entire white top part that contains the coffee grinder. Everything comes by itself, no tools are needed.
The piston part is then easily accessible.
Step 4: Disconnecting the electrical wires from the boiler
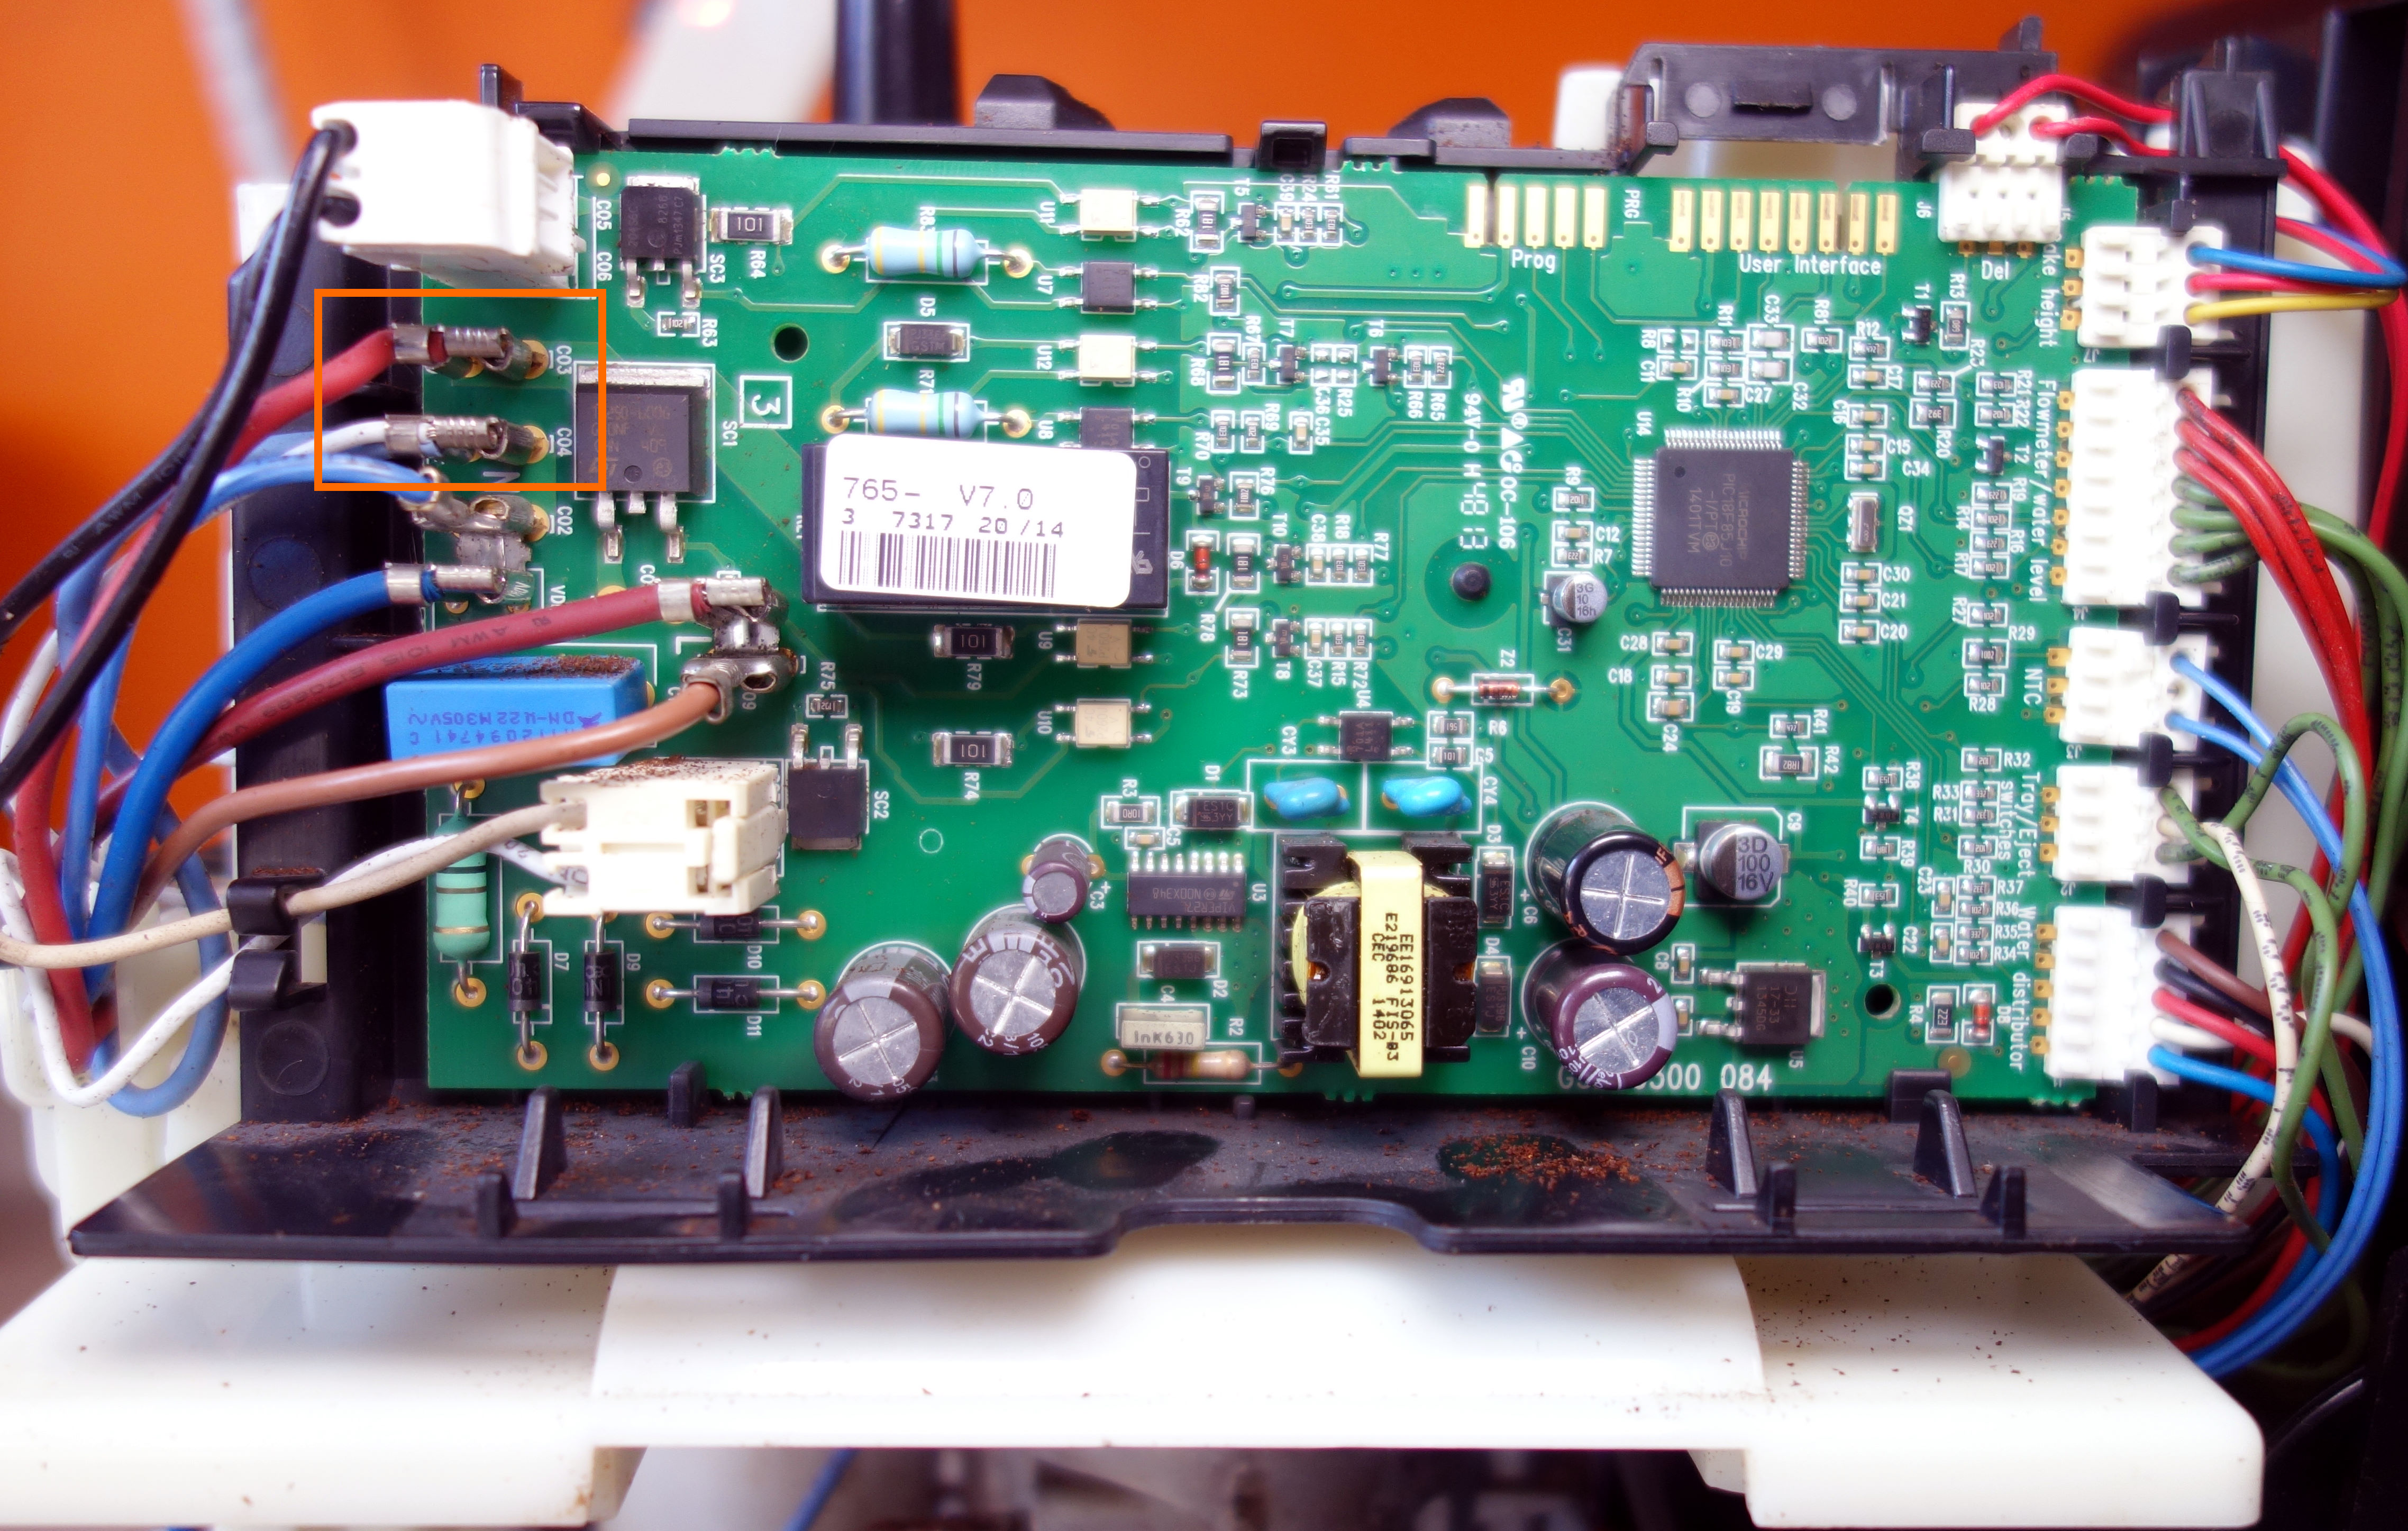
Disconnect the heating element from the control board. This is the terminal with the red wire, and the one with the blue wire and a small white.
If the terminals are too hard, pull it gently with pliers while shaking.

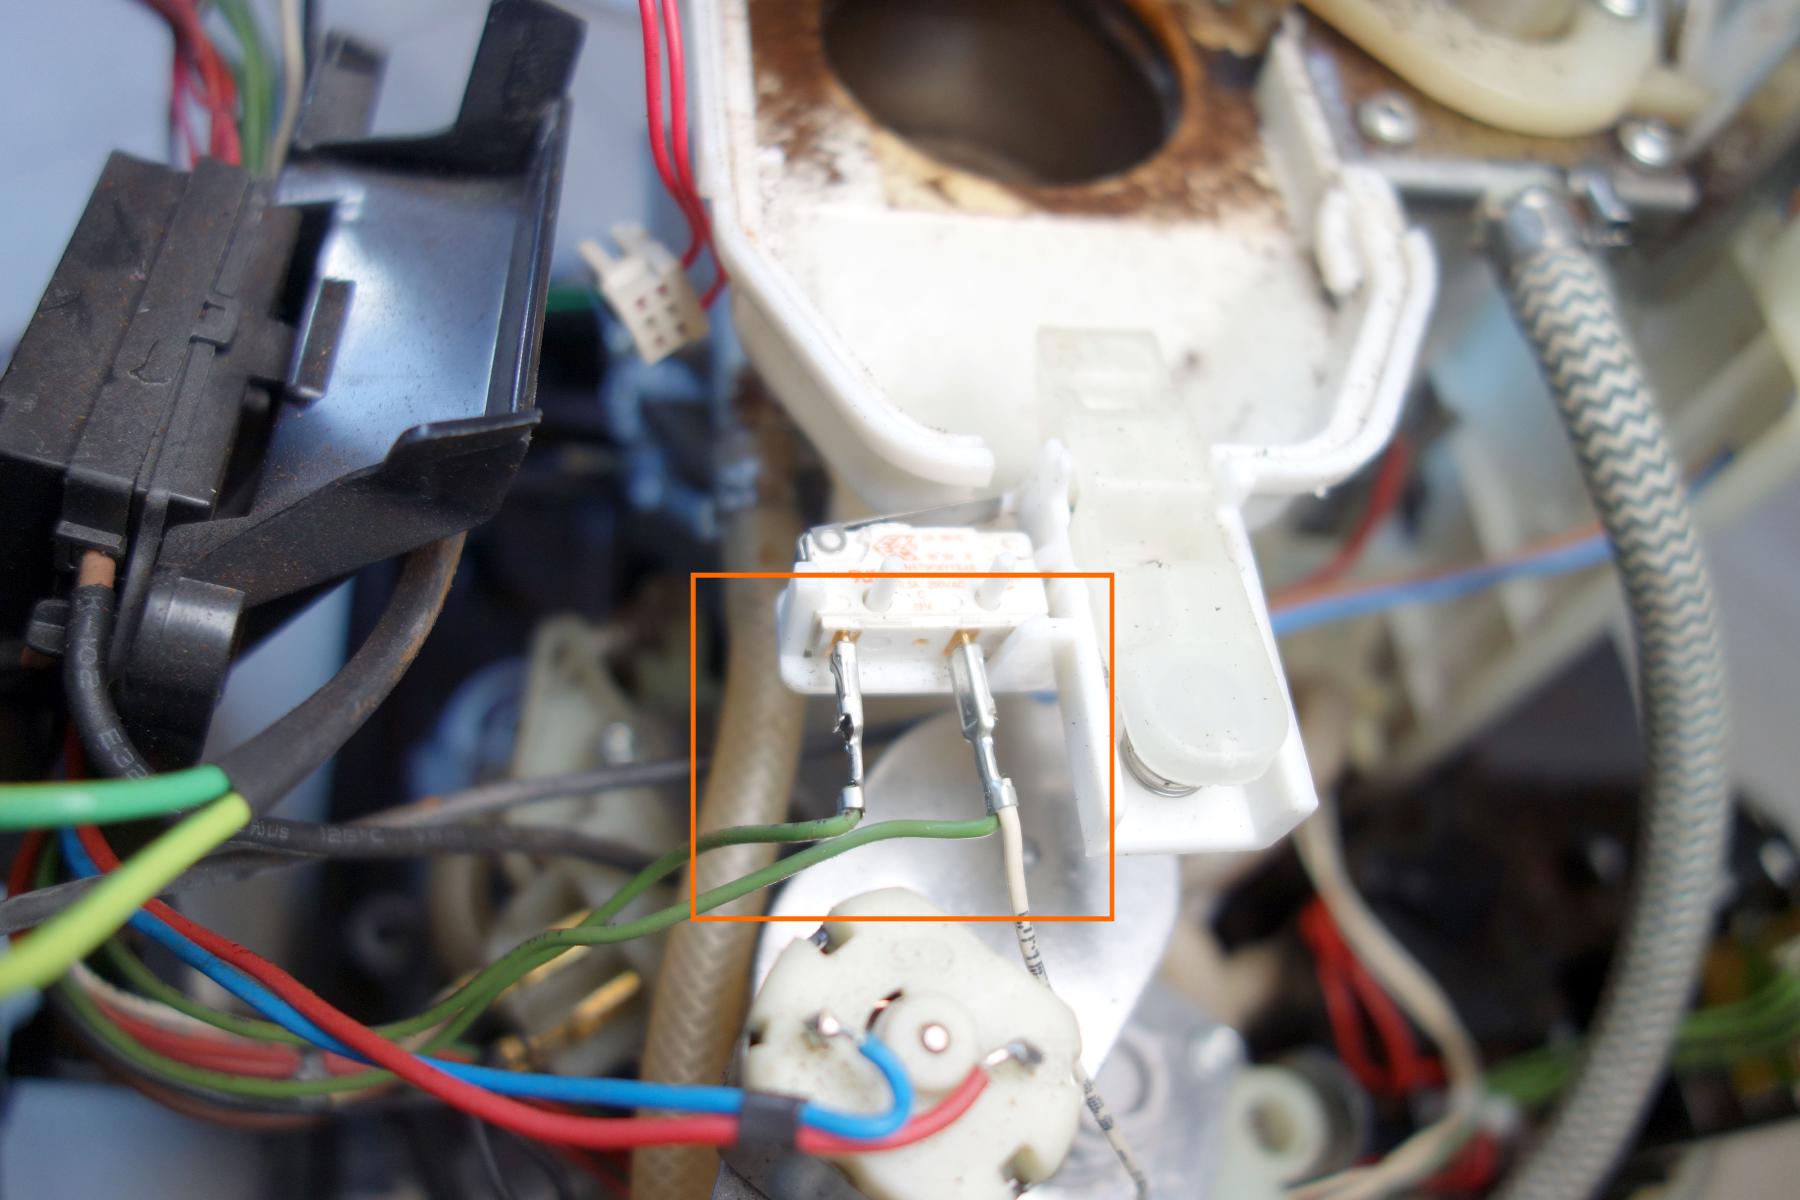
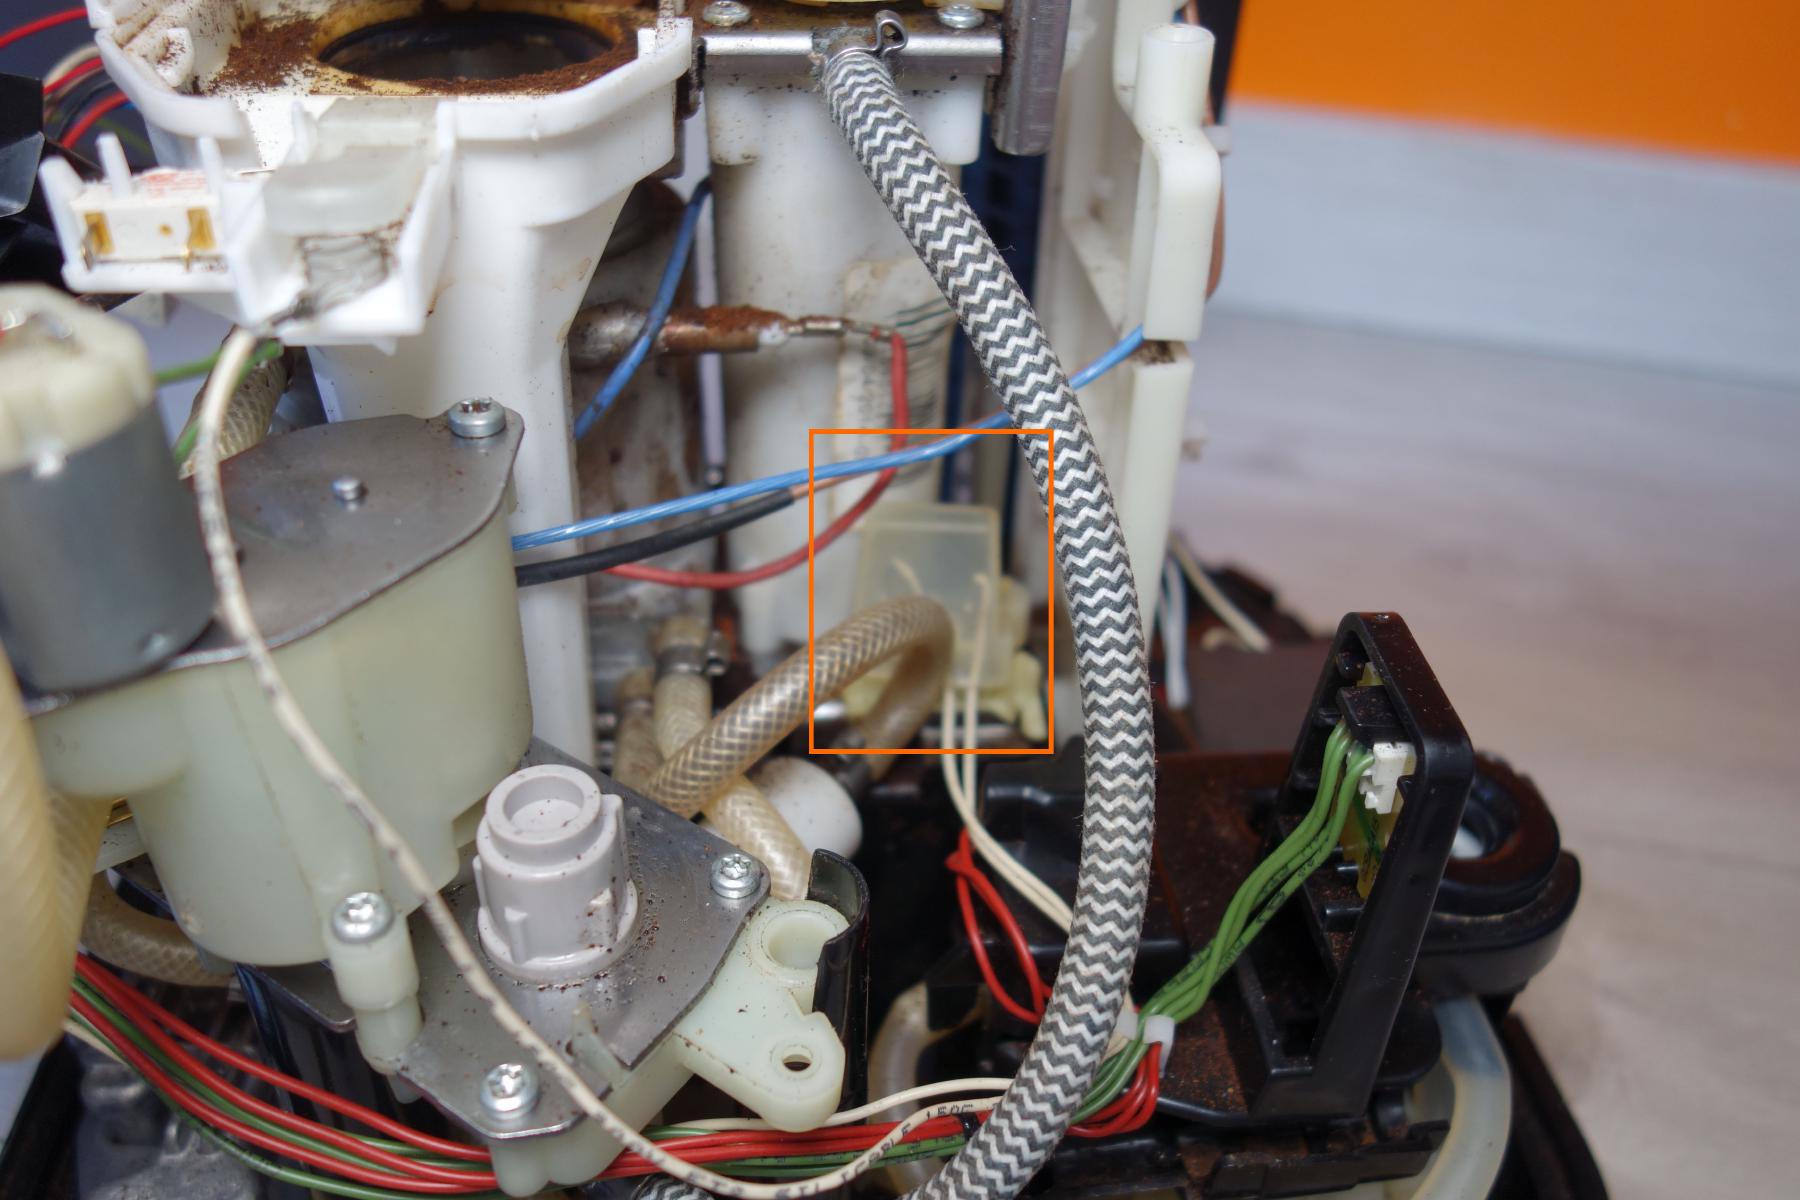
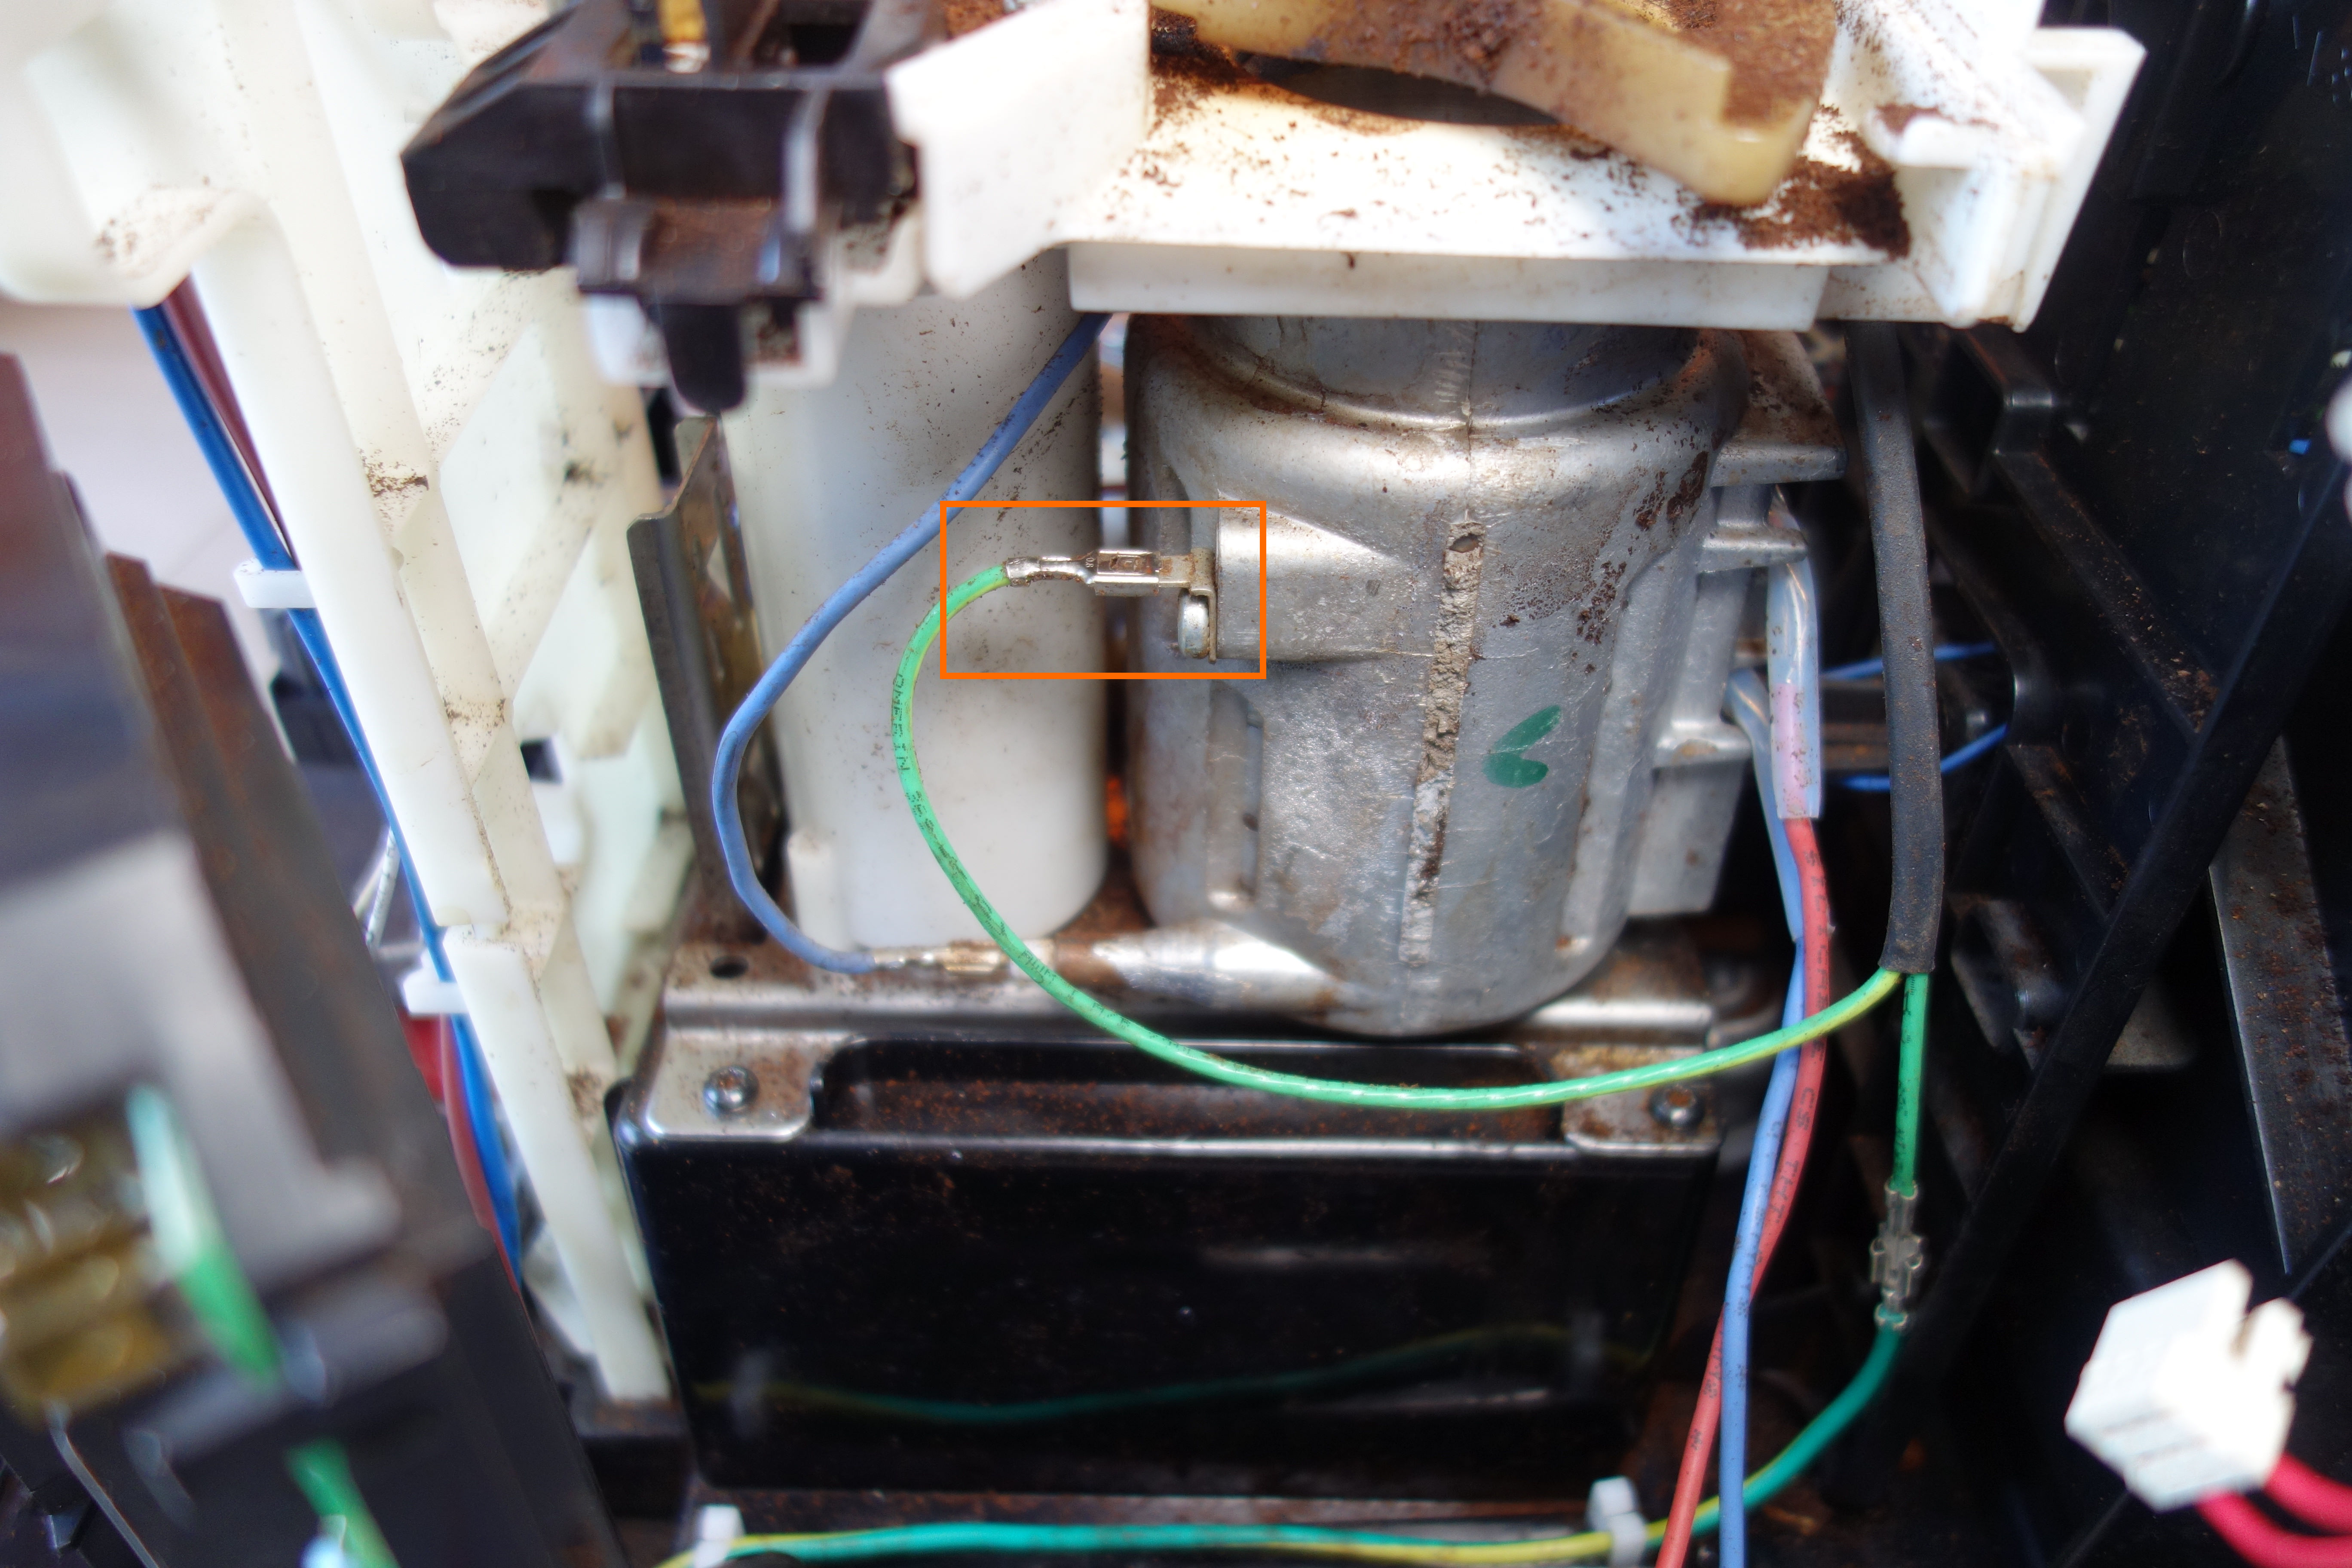
Then disconnect the white wires from the switch near the piston. One of the wires is connected to the blue wire that we disconnected just before. The second wire goes to the pump.
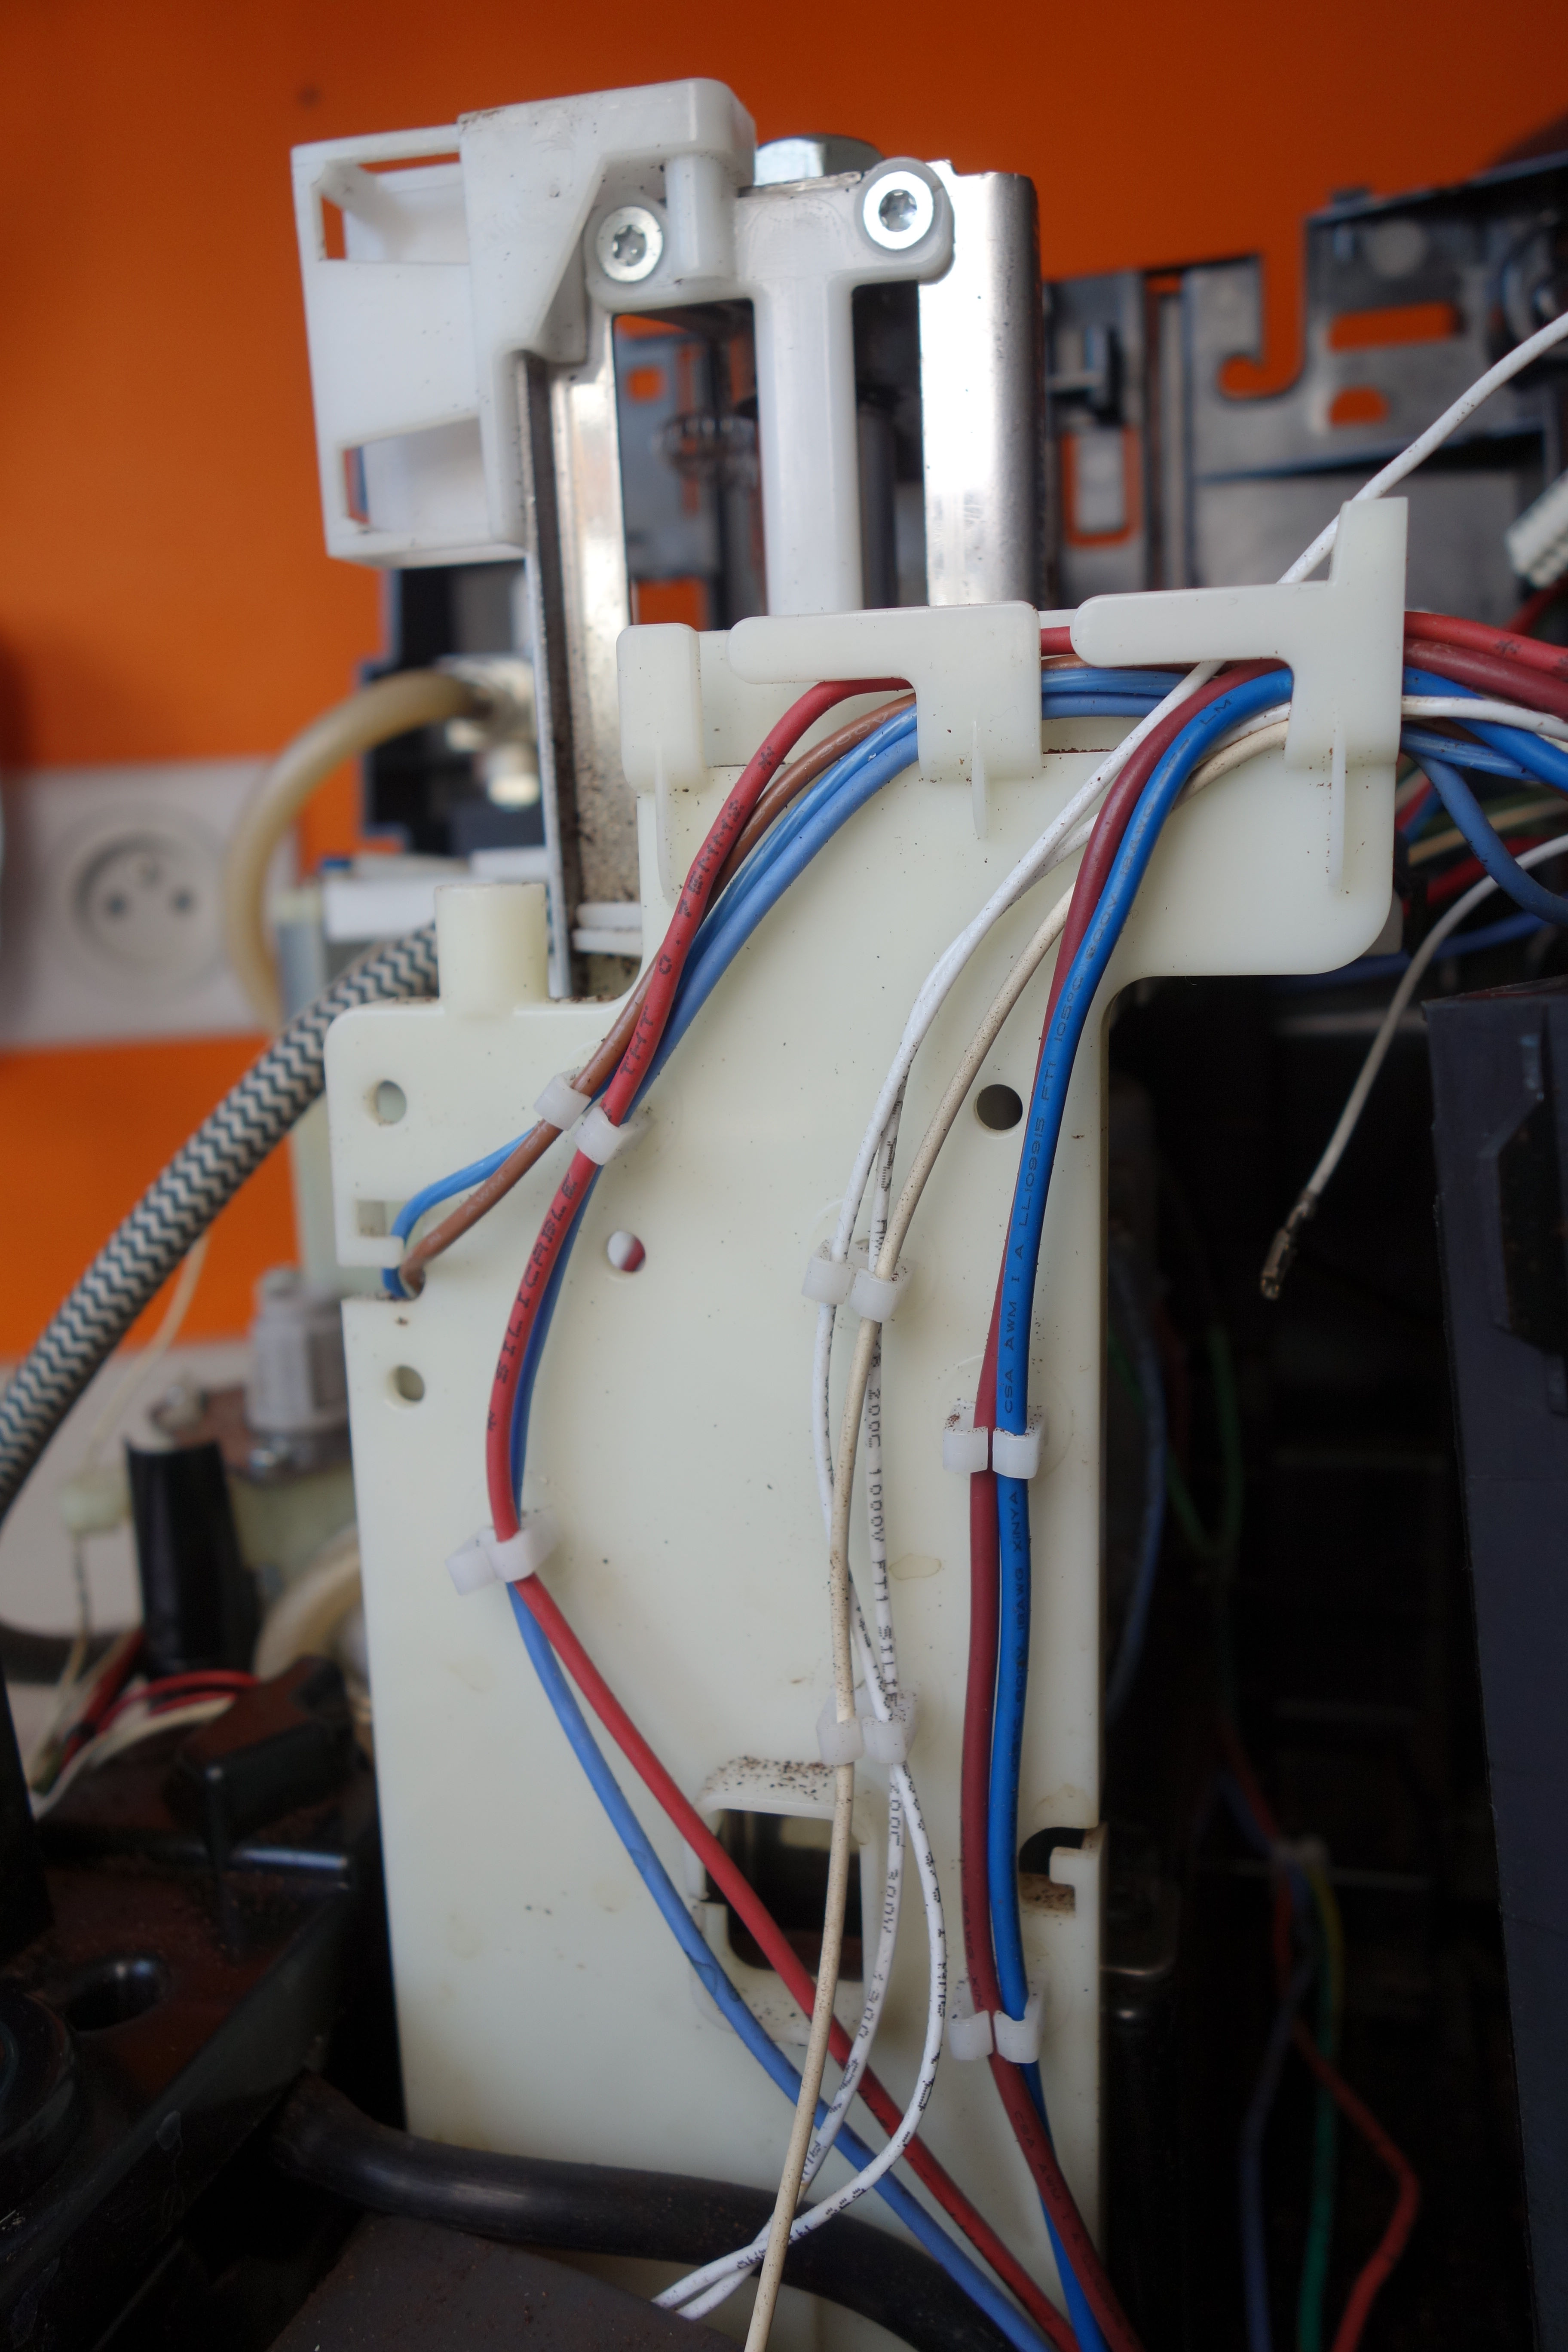
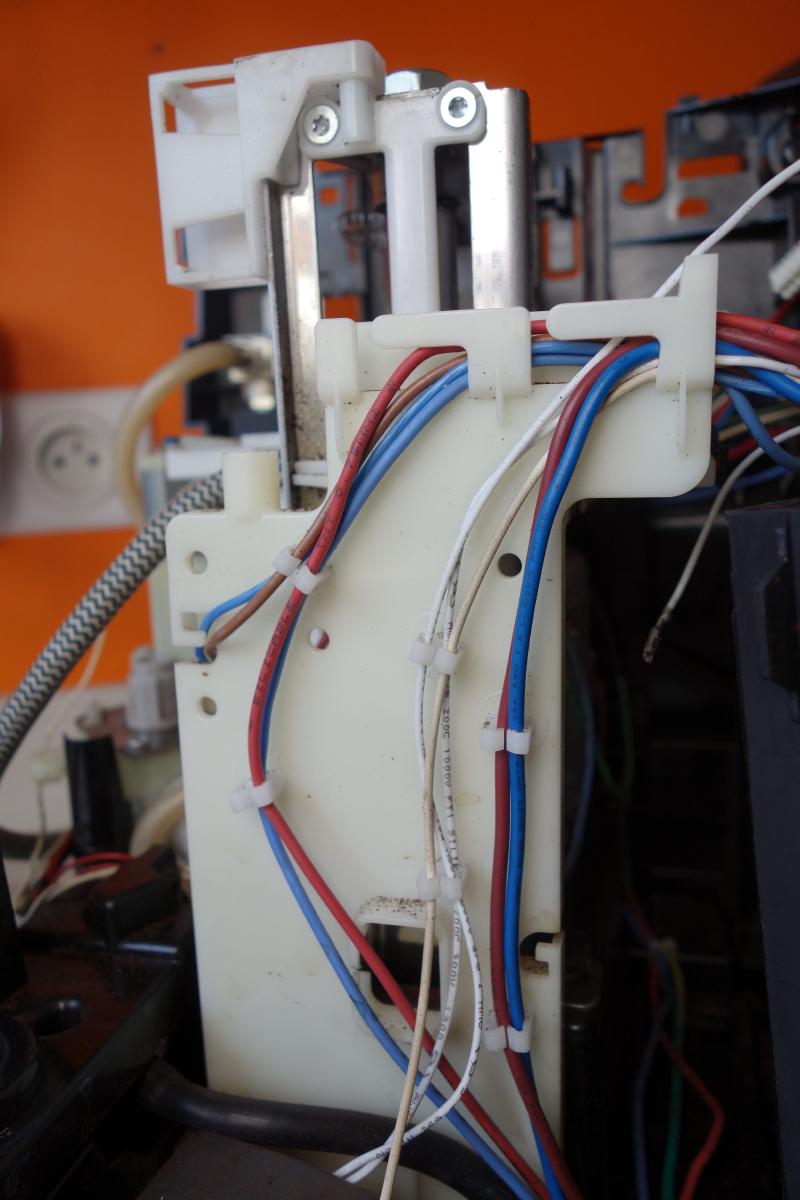
Pull the red and blue wires out of the wire trays to free them completely
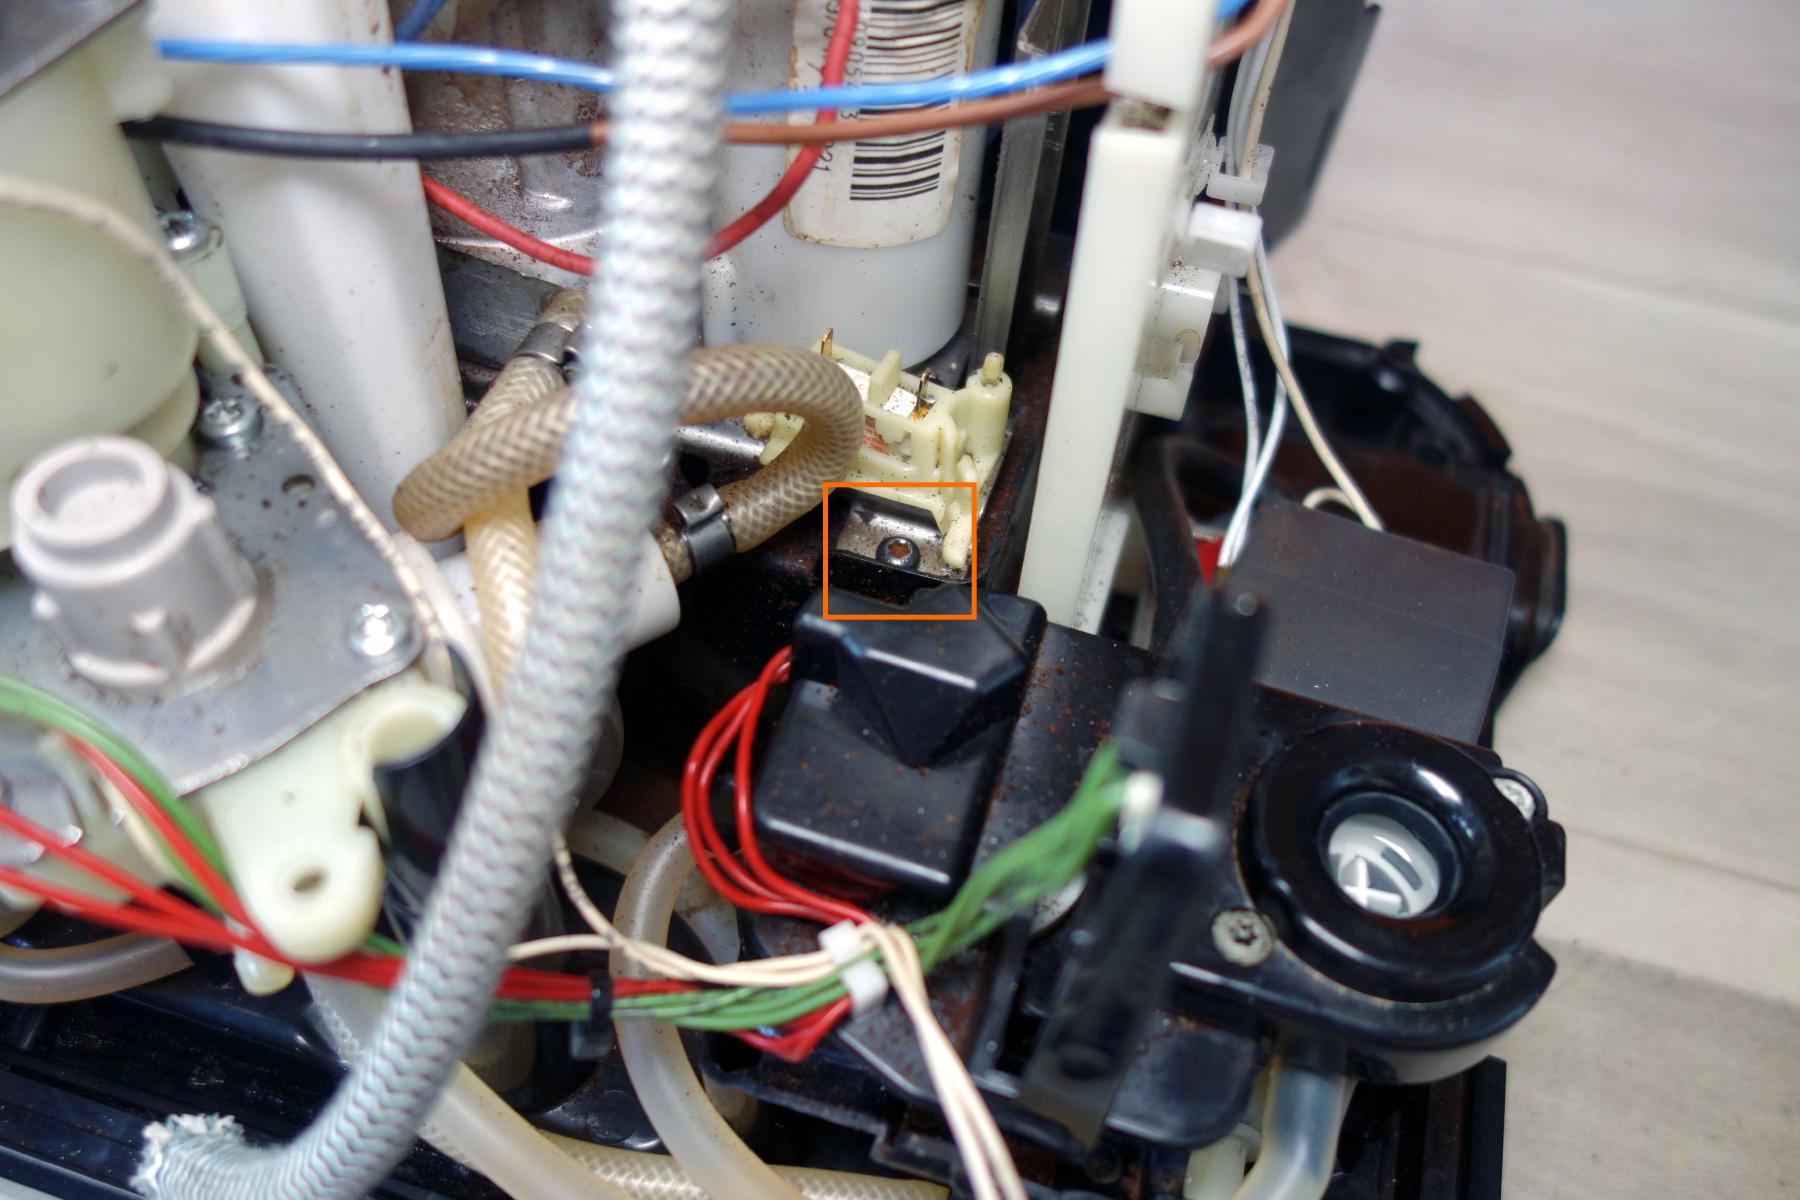
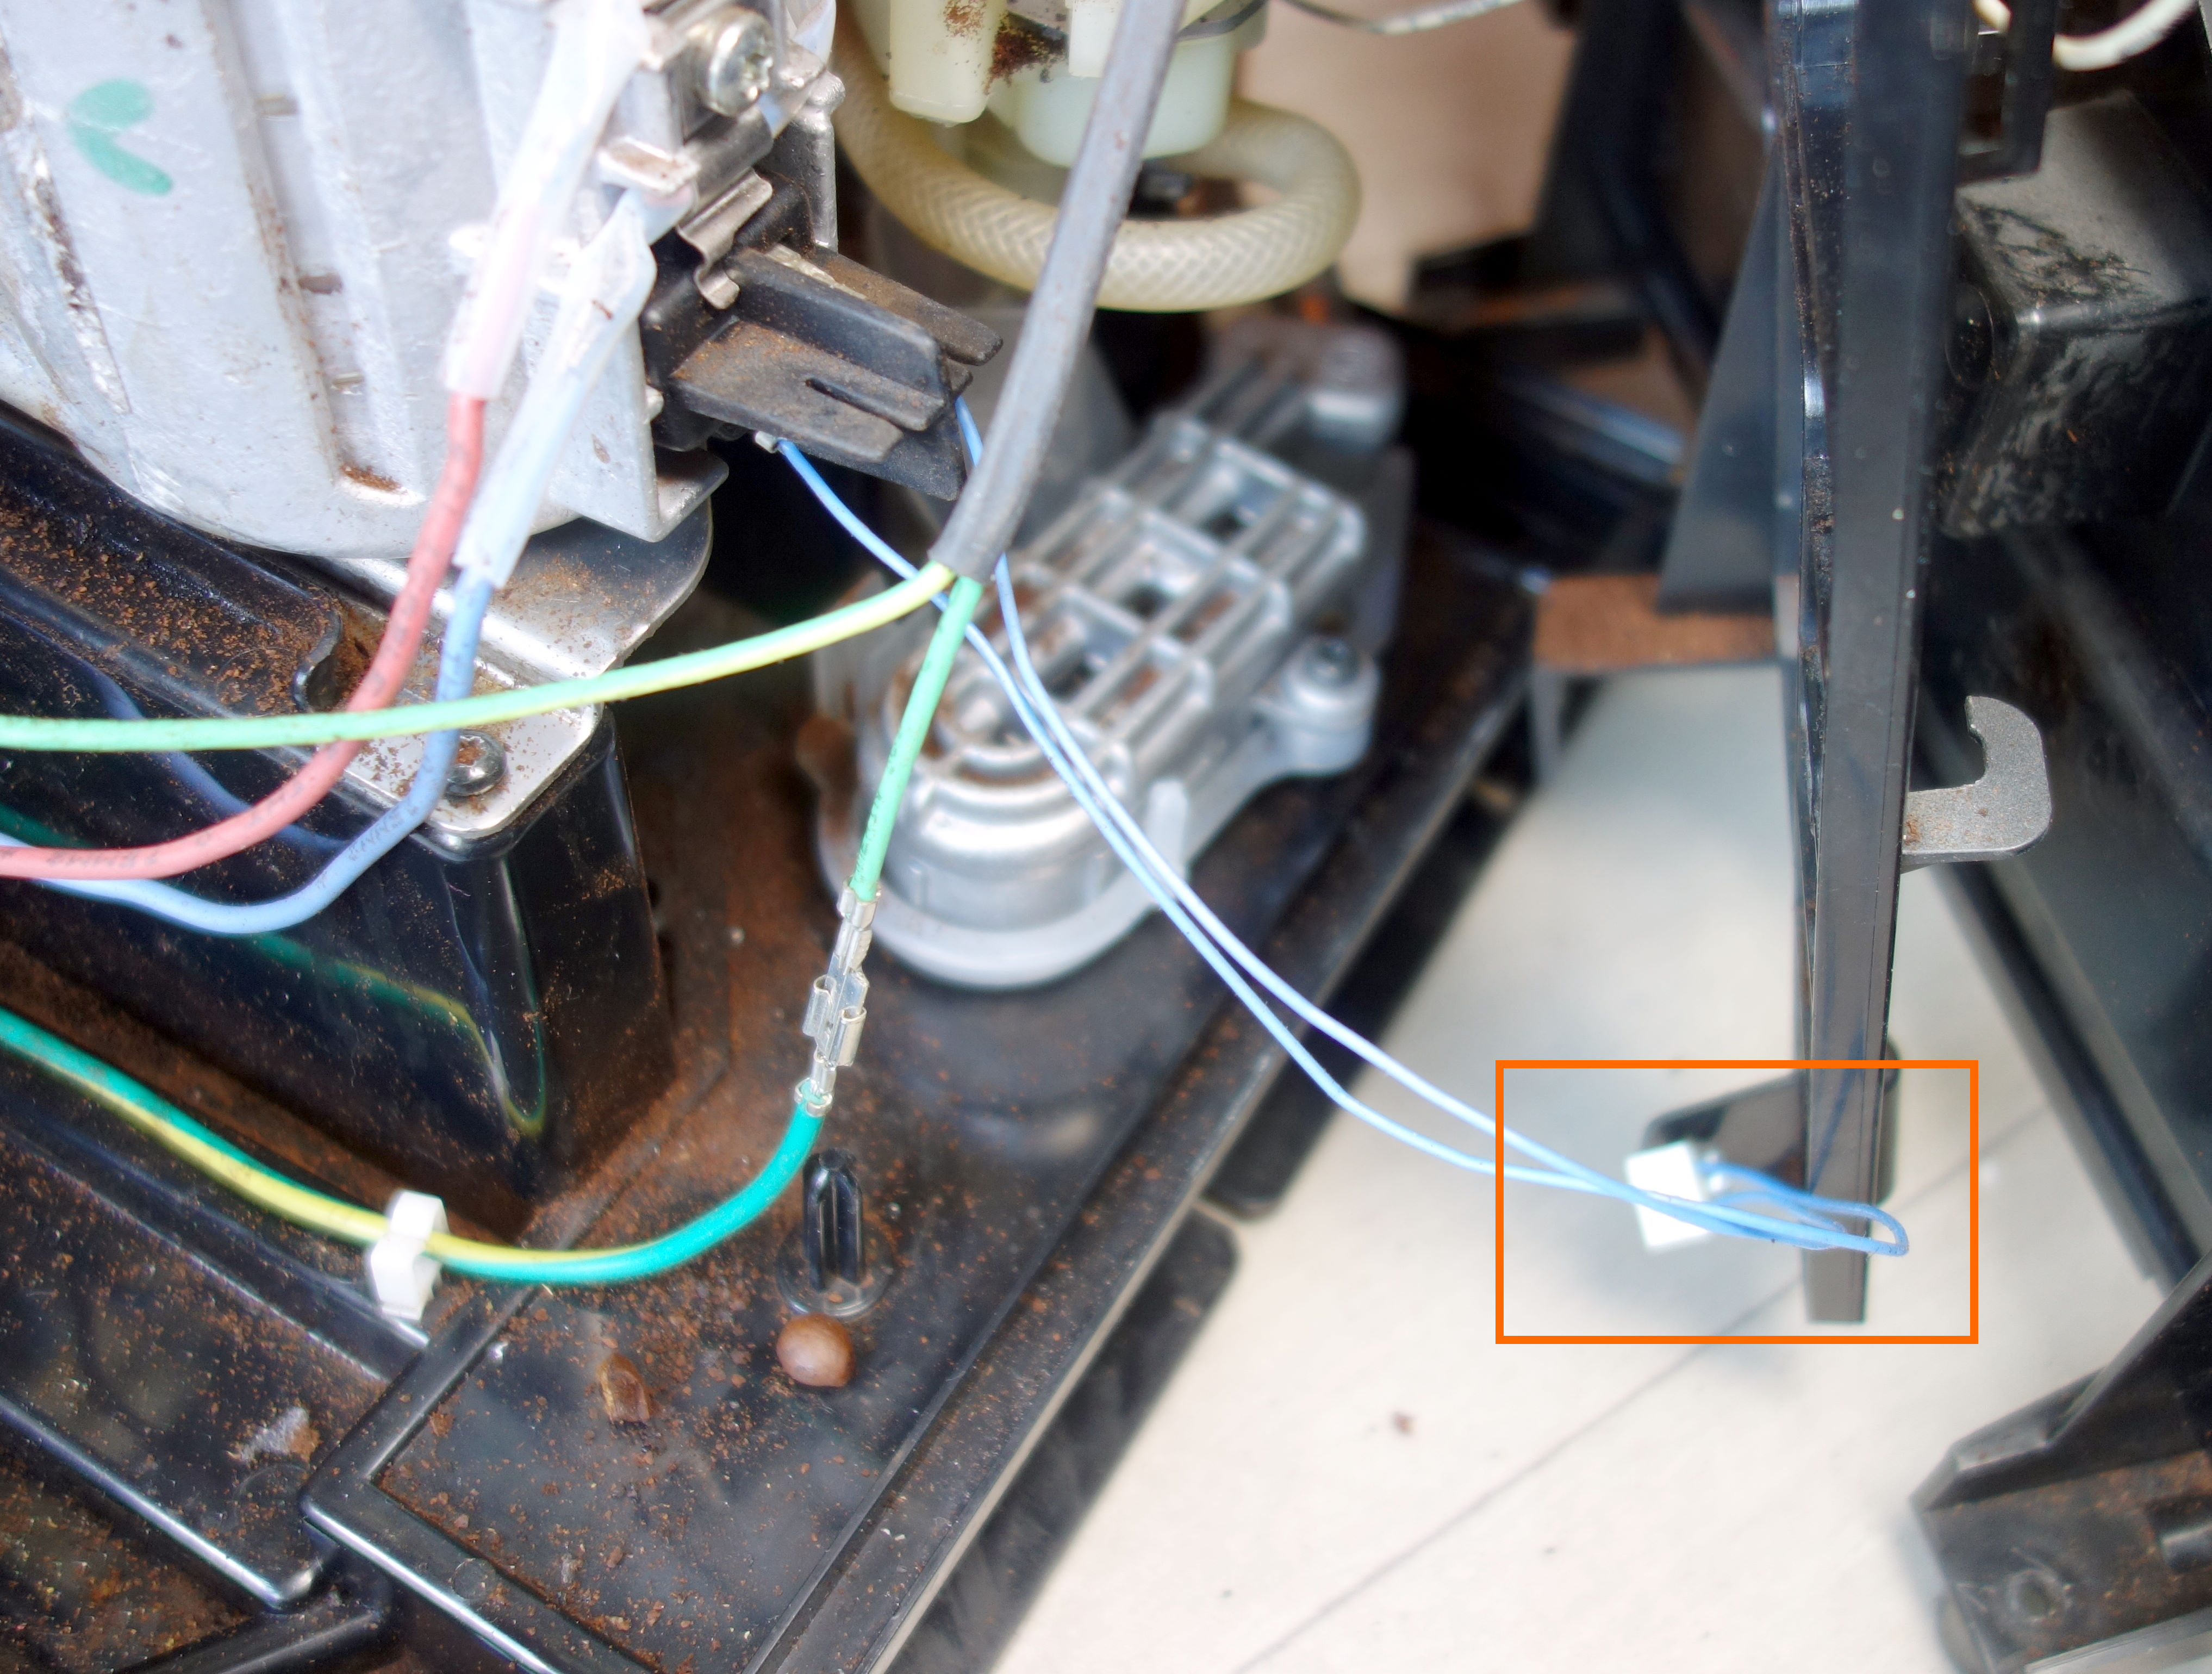
Disconnect the ground terminal that is on the left side of the machine (where there is the used coffee bin)
Pull the temperature sensor connector out of its cable tray
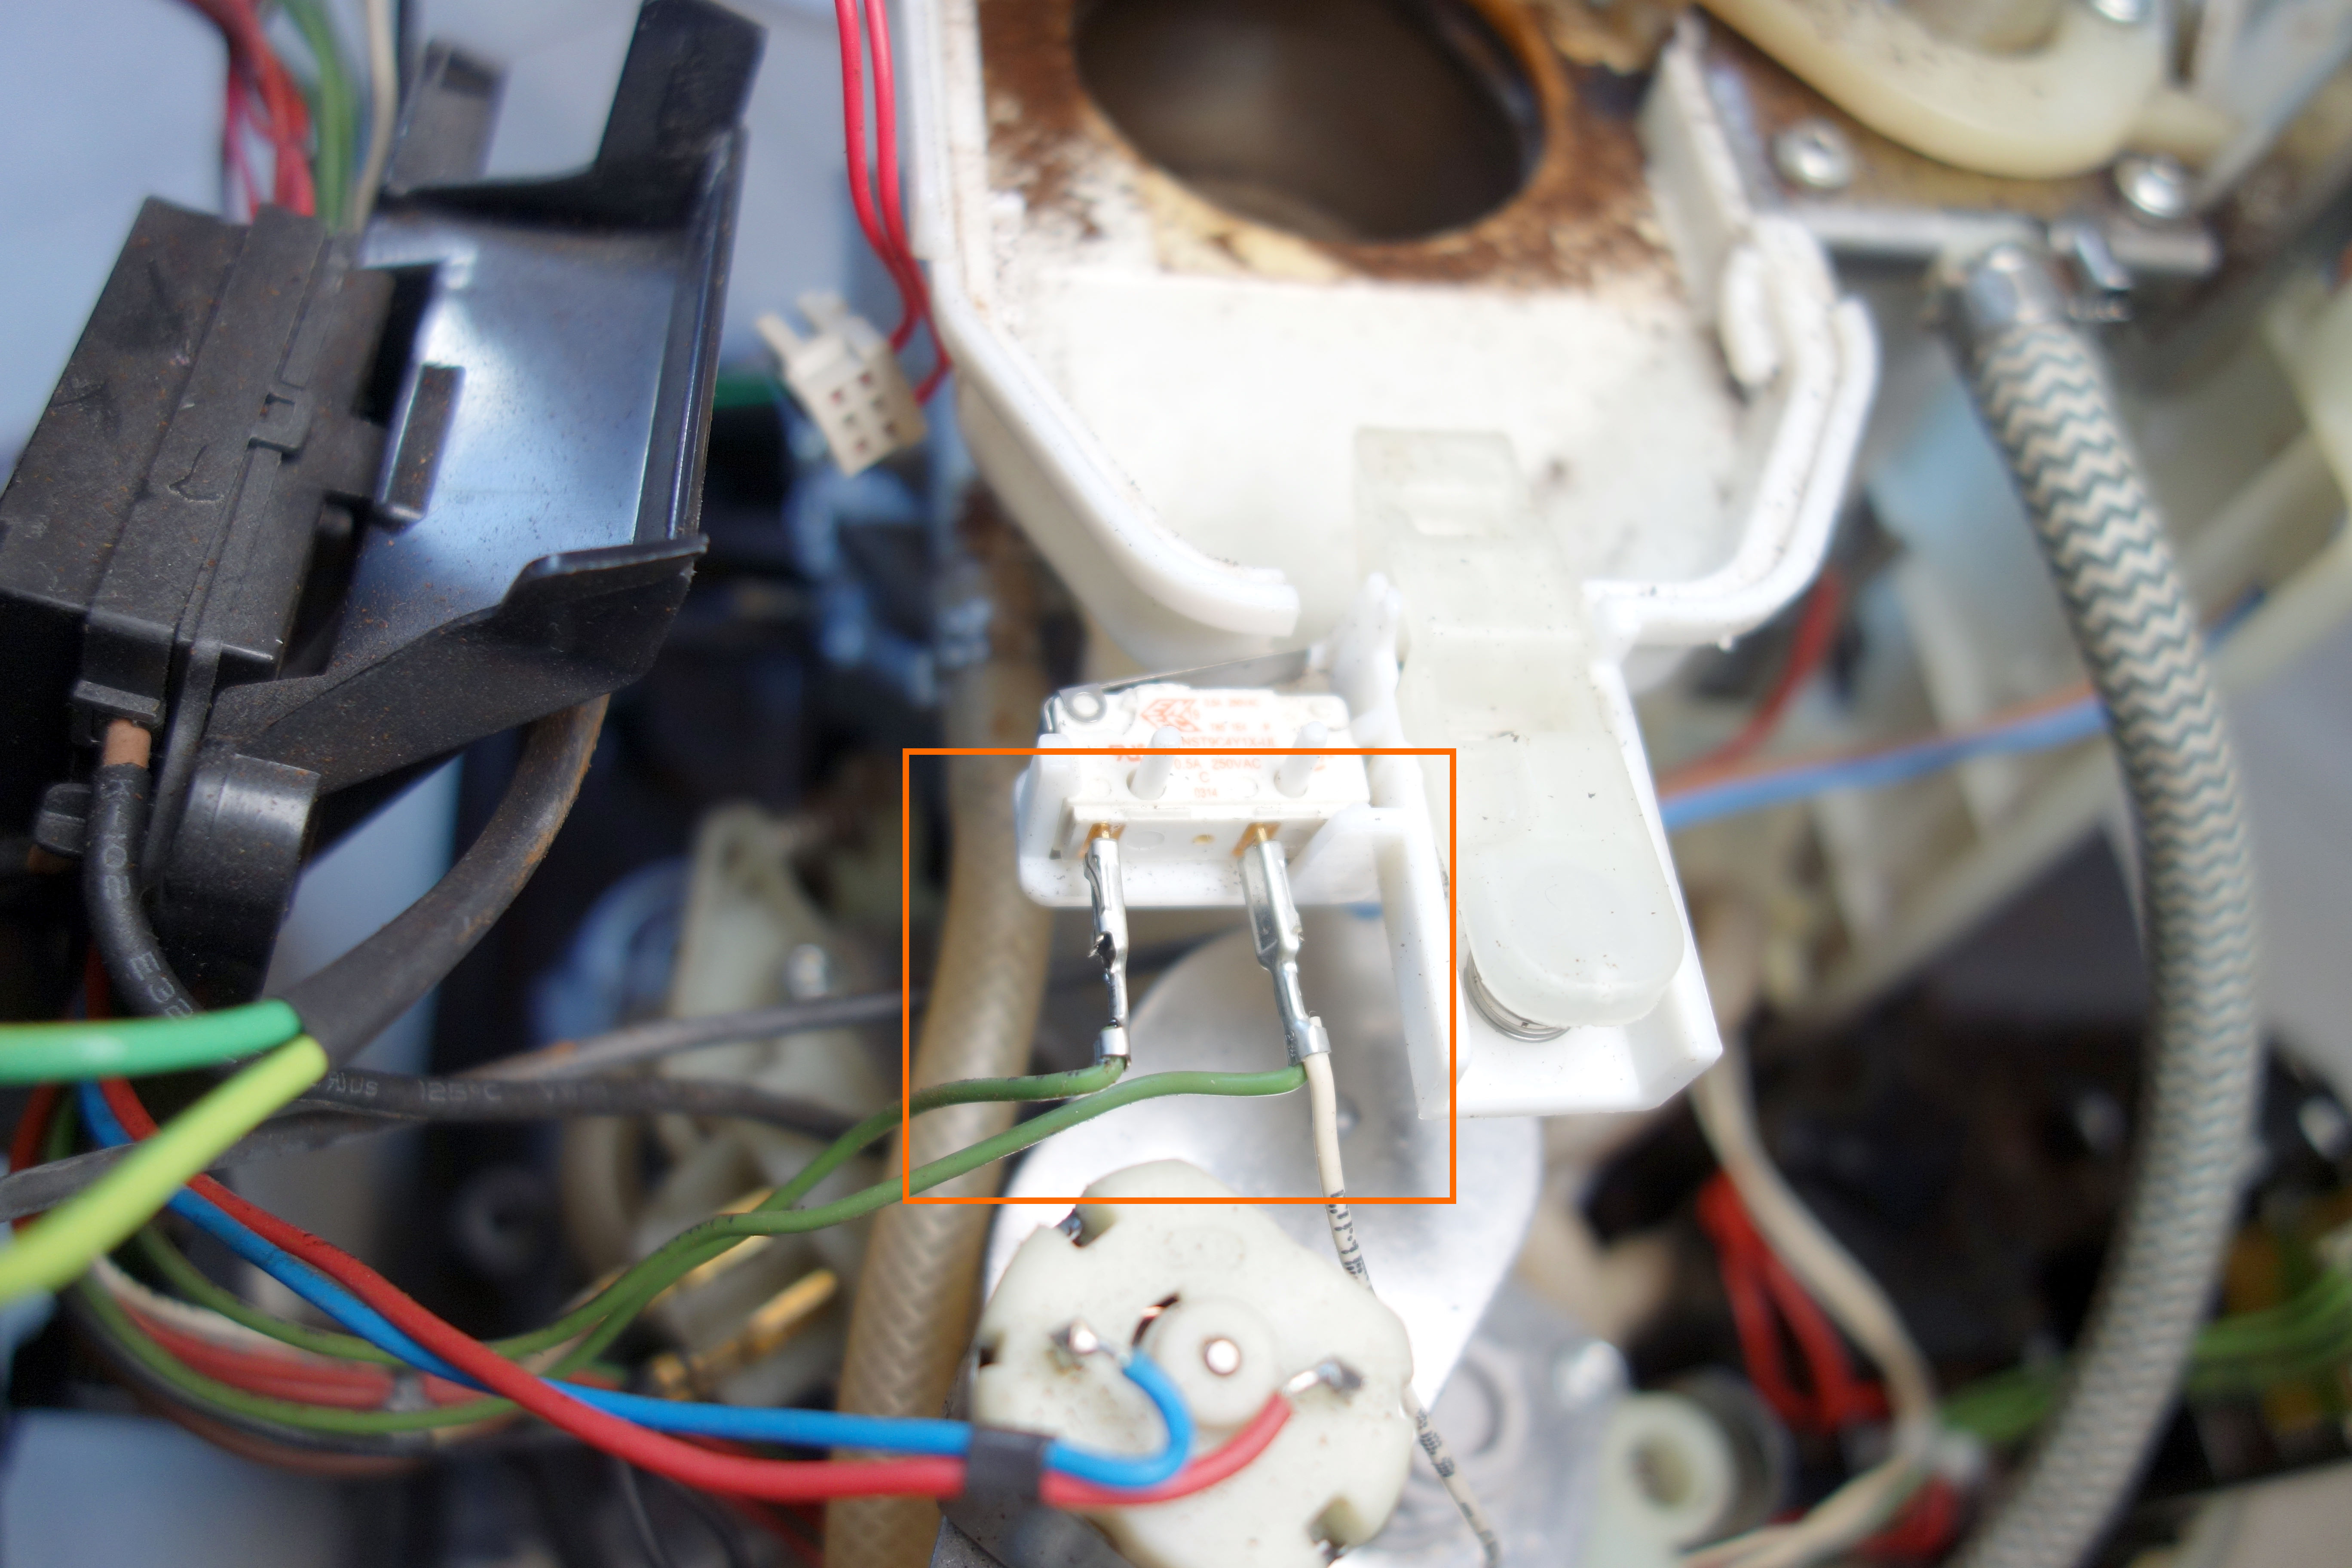
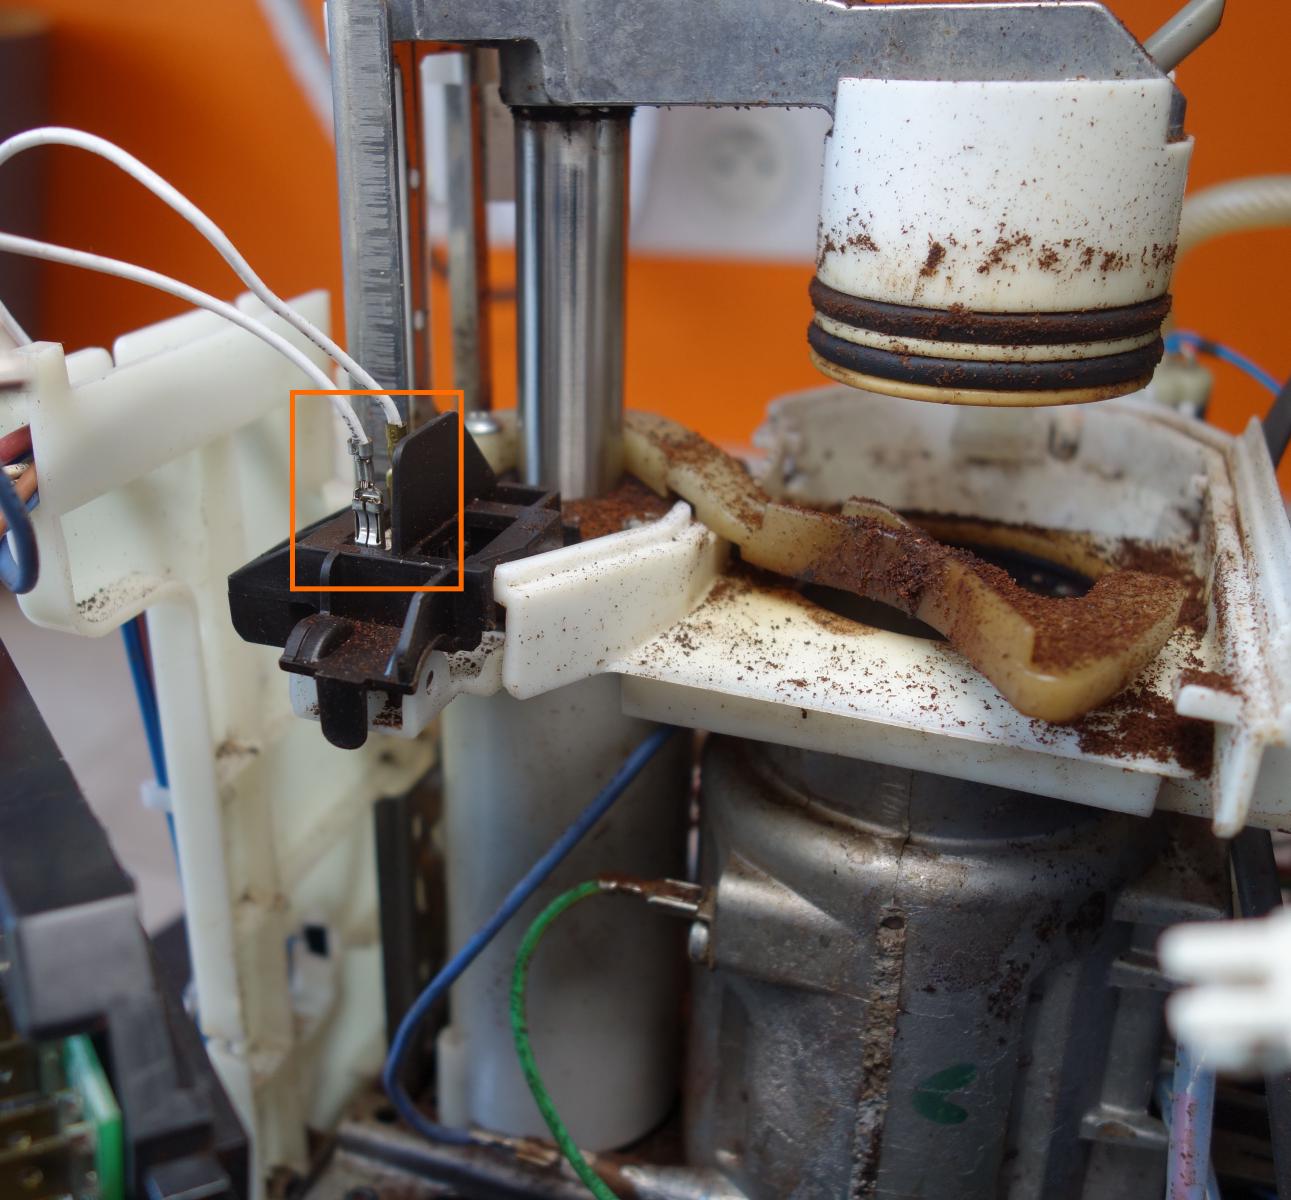
Disconnect the switch that is on the top right (Green wire in front / Green + white wire behind)

Remove the plastic cover from the switch that is located near the water inlet and disconnect its wires.
Step 5: Disconnecting the pipes
For the clamps, the easiest way is to cut them with pliers.
⚠️ ⚠️ ⚠️ If your machine is several years old, you must use lubricant or WD40 to facilitate the removal of the pipes. Some fittings are made of plastic and can break easily. If the tube is stuck, lubricate and then use pliers ⚠️ ⚠️ ⚠️
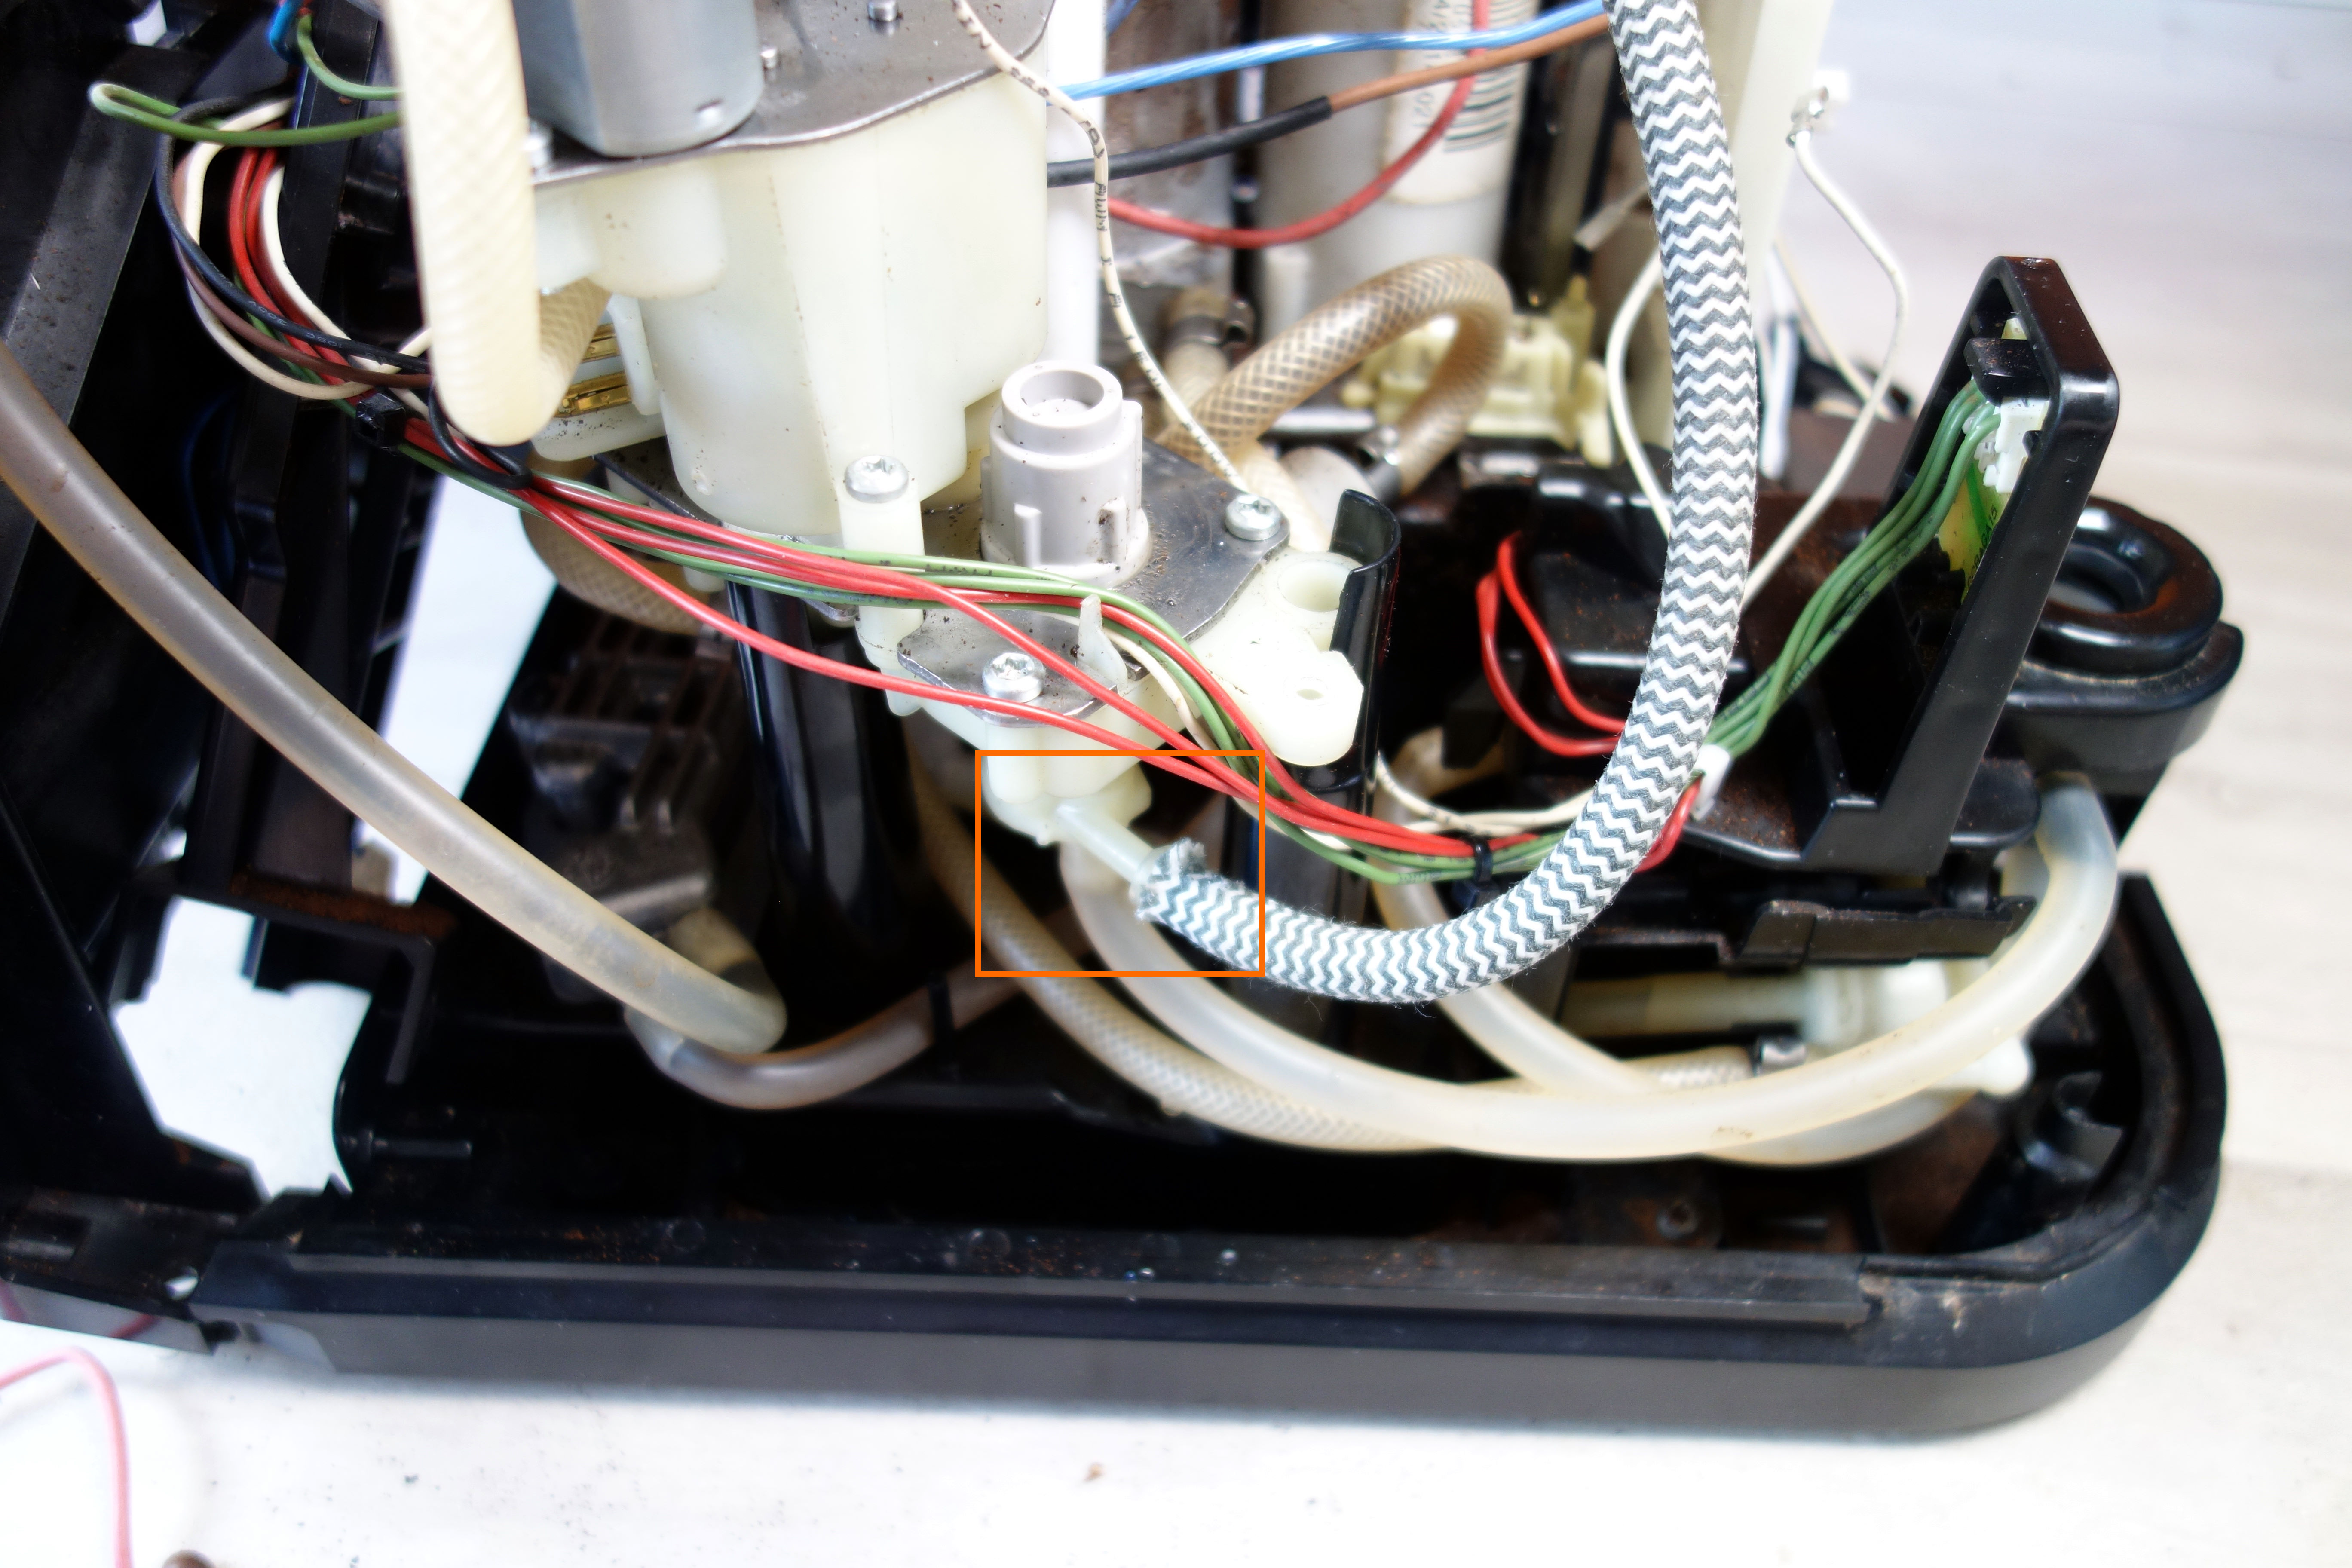
Disconnect the inlet pipe for the piston
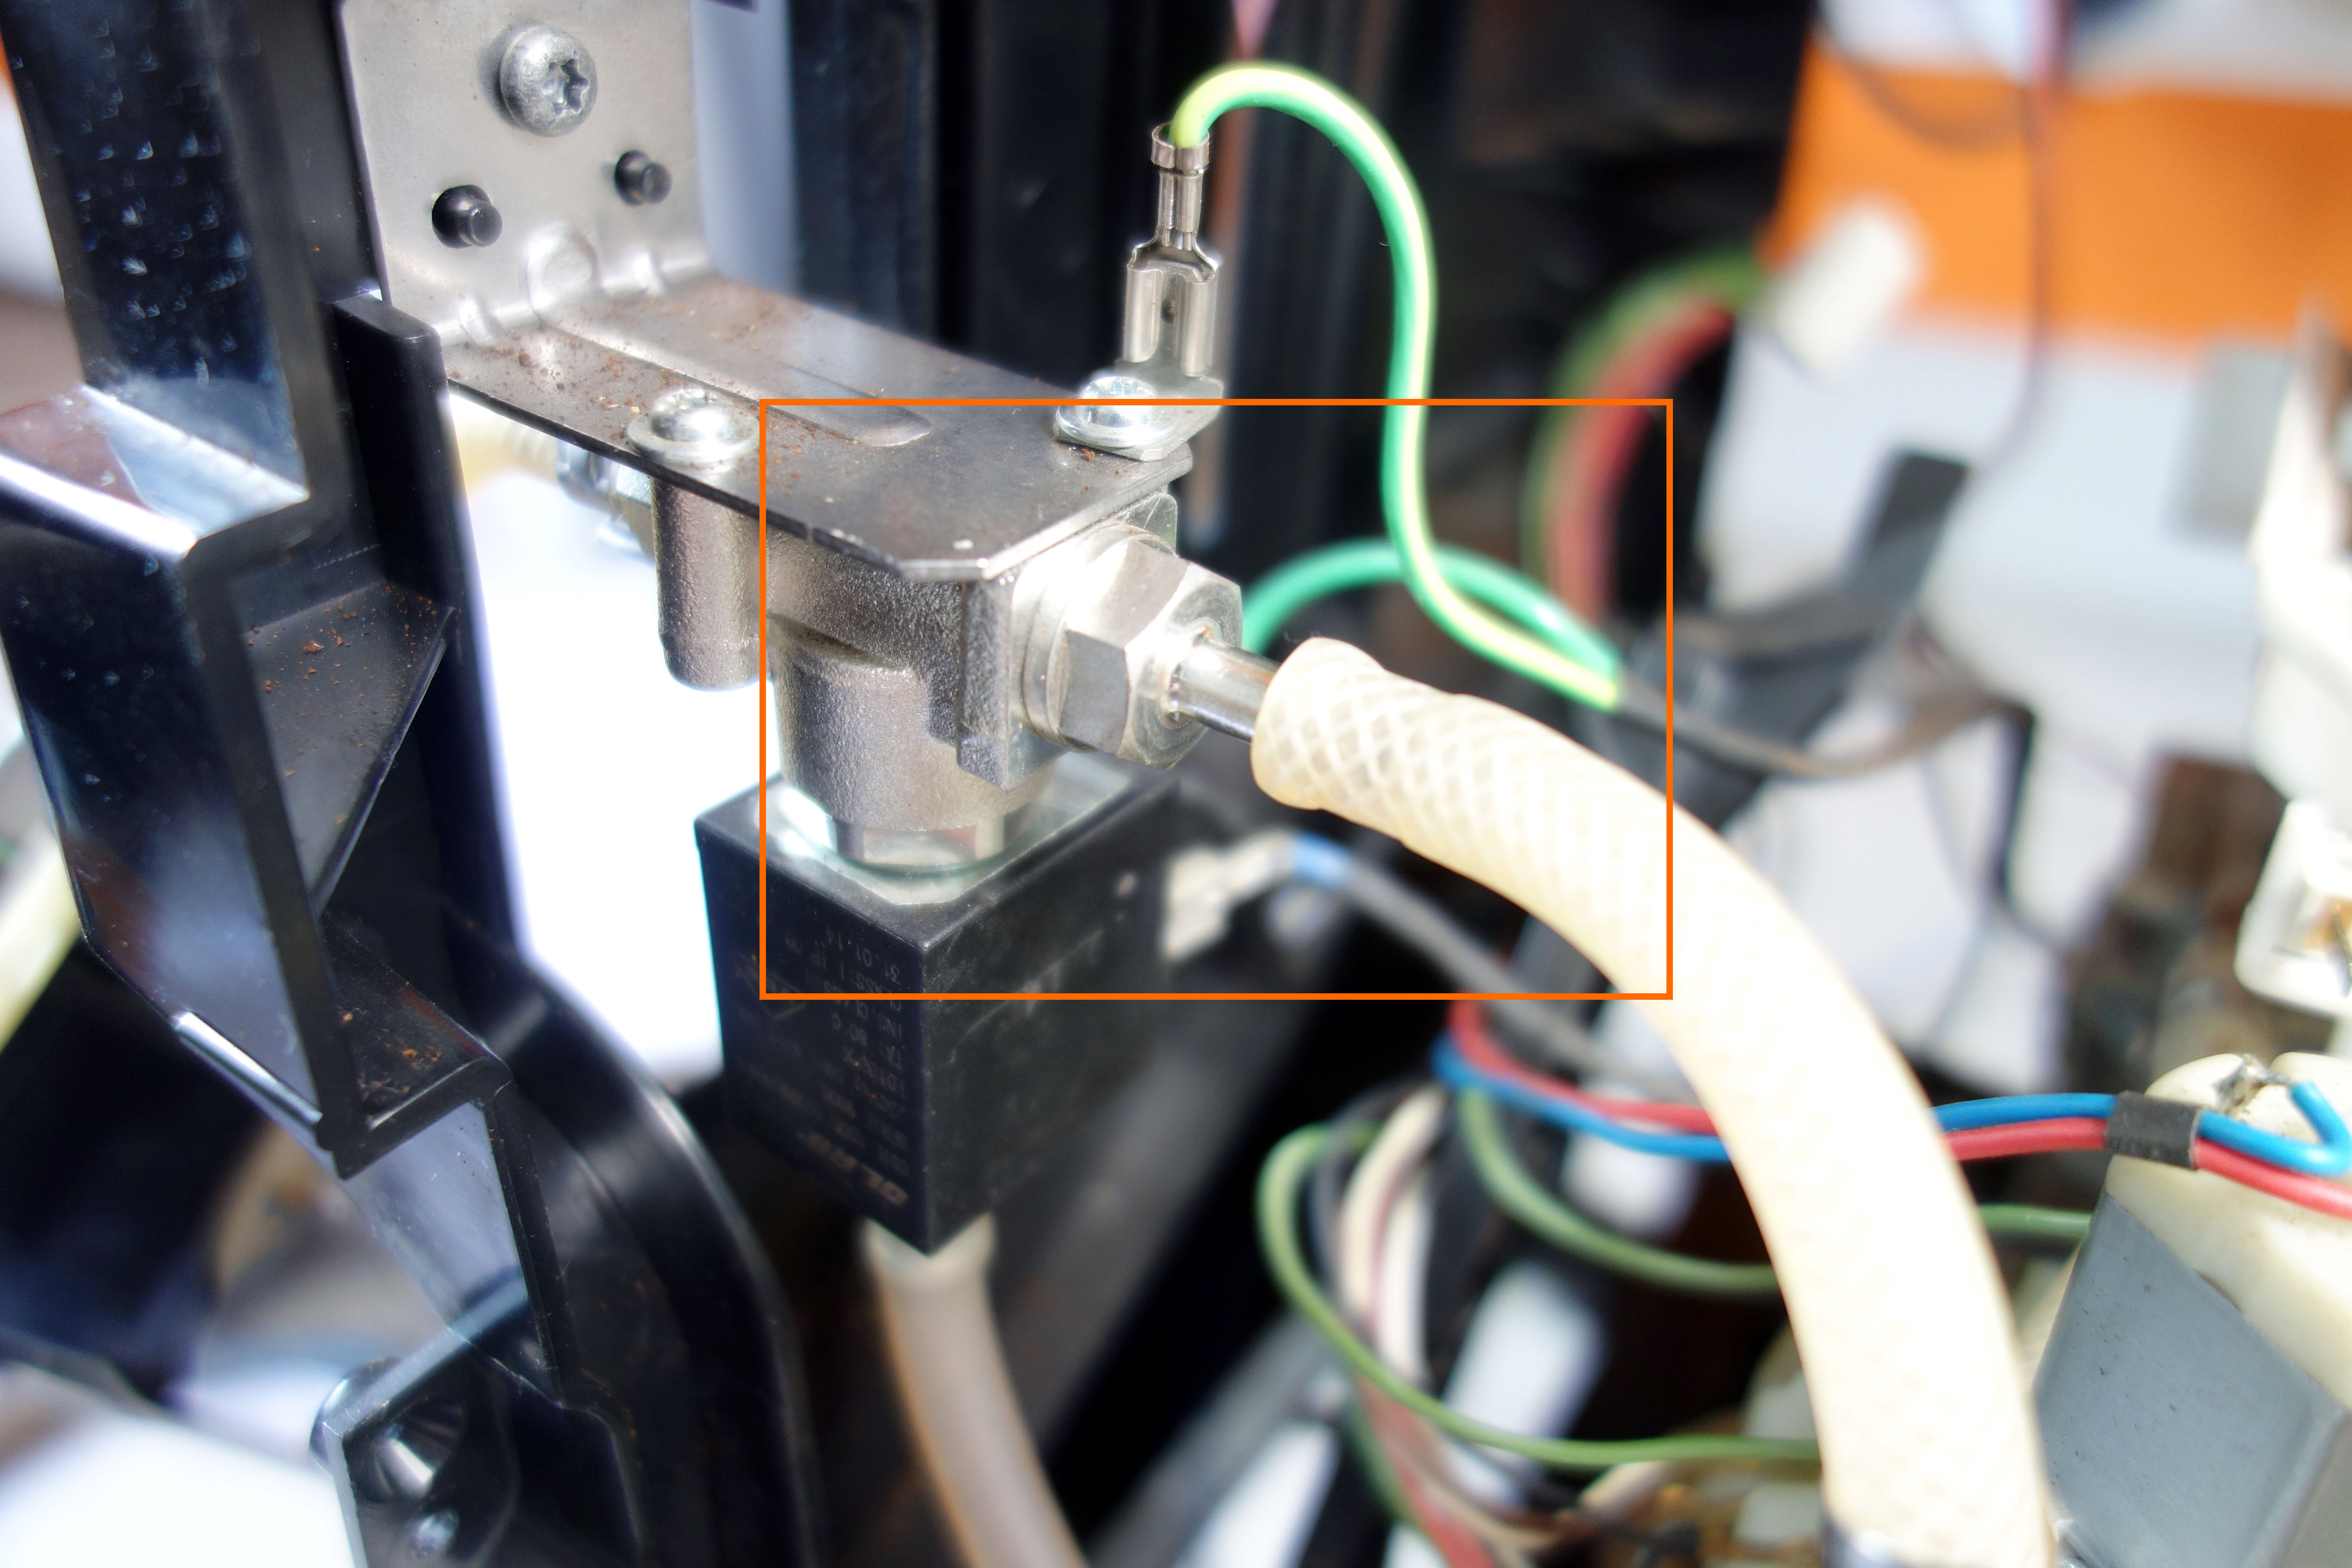
Disconnect the pipe from the steam output
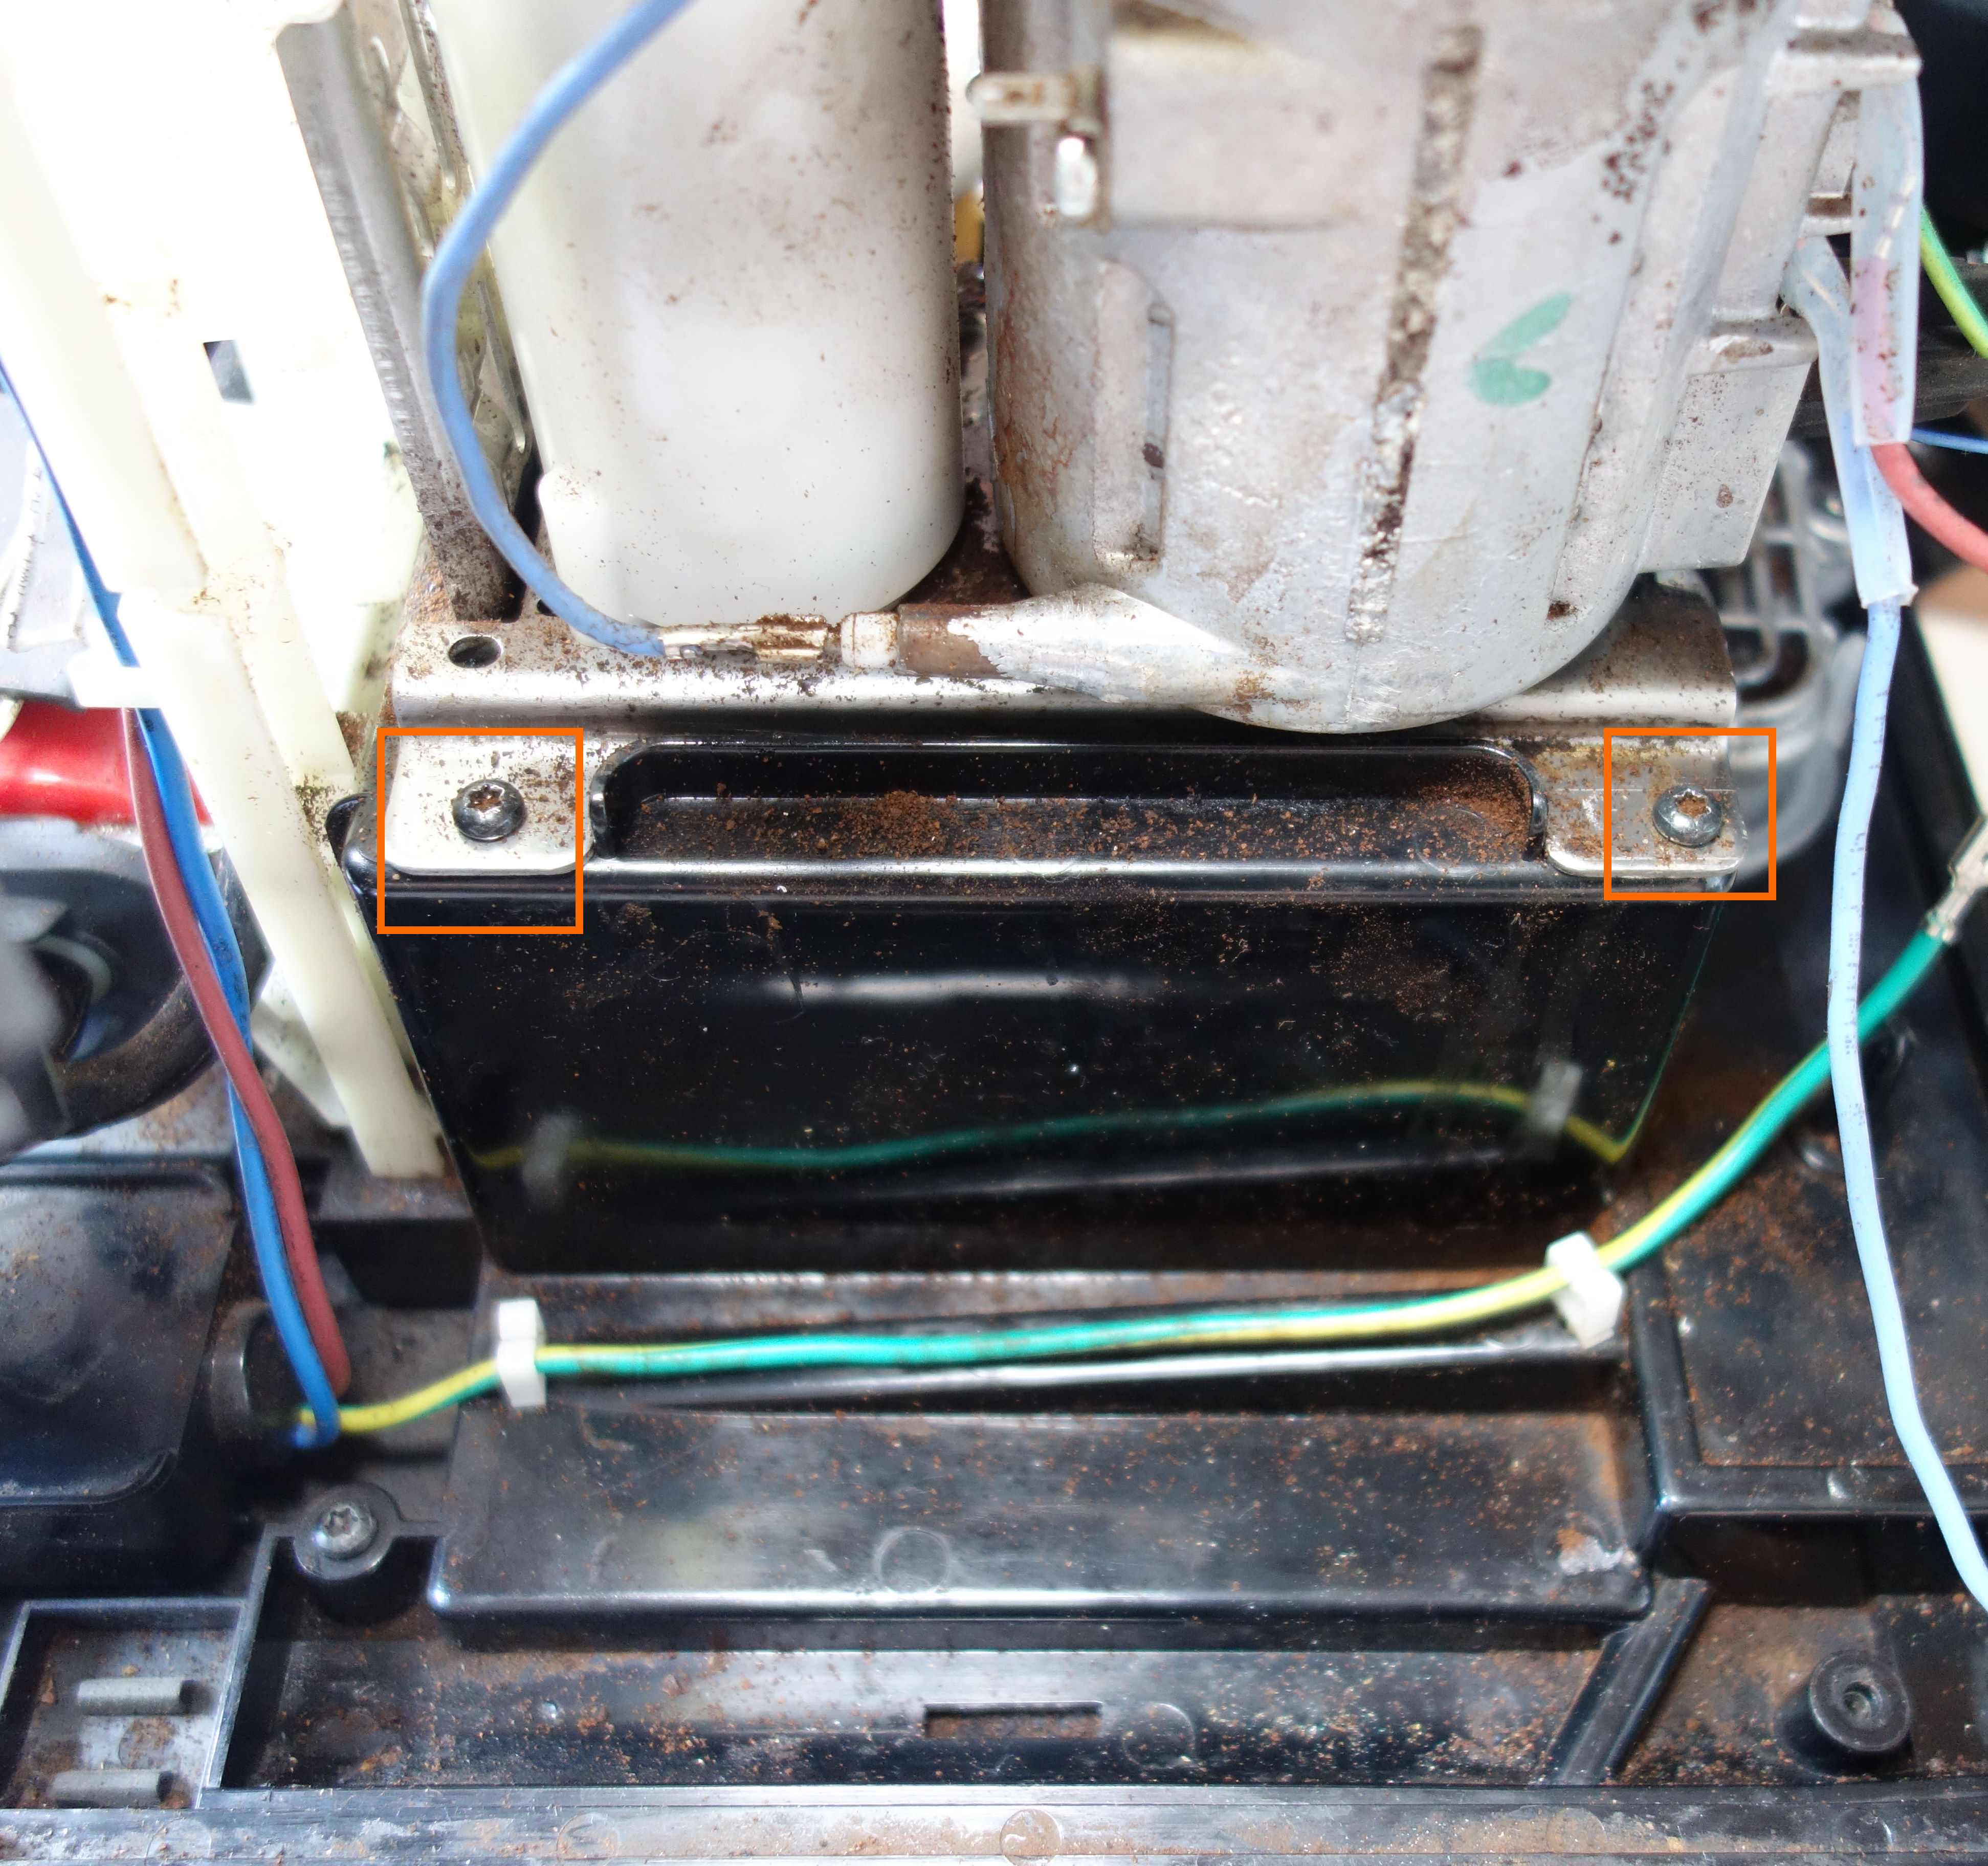
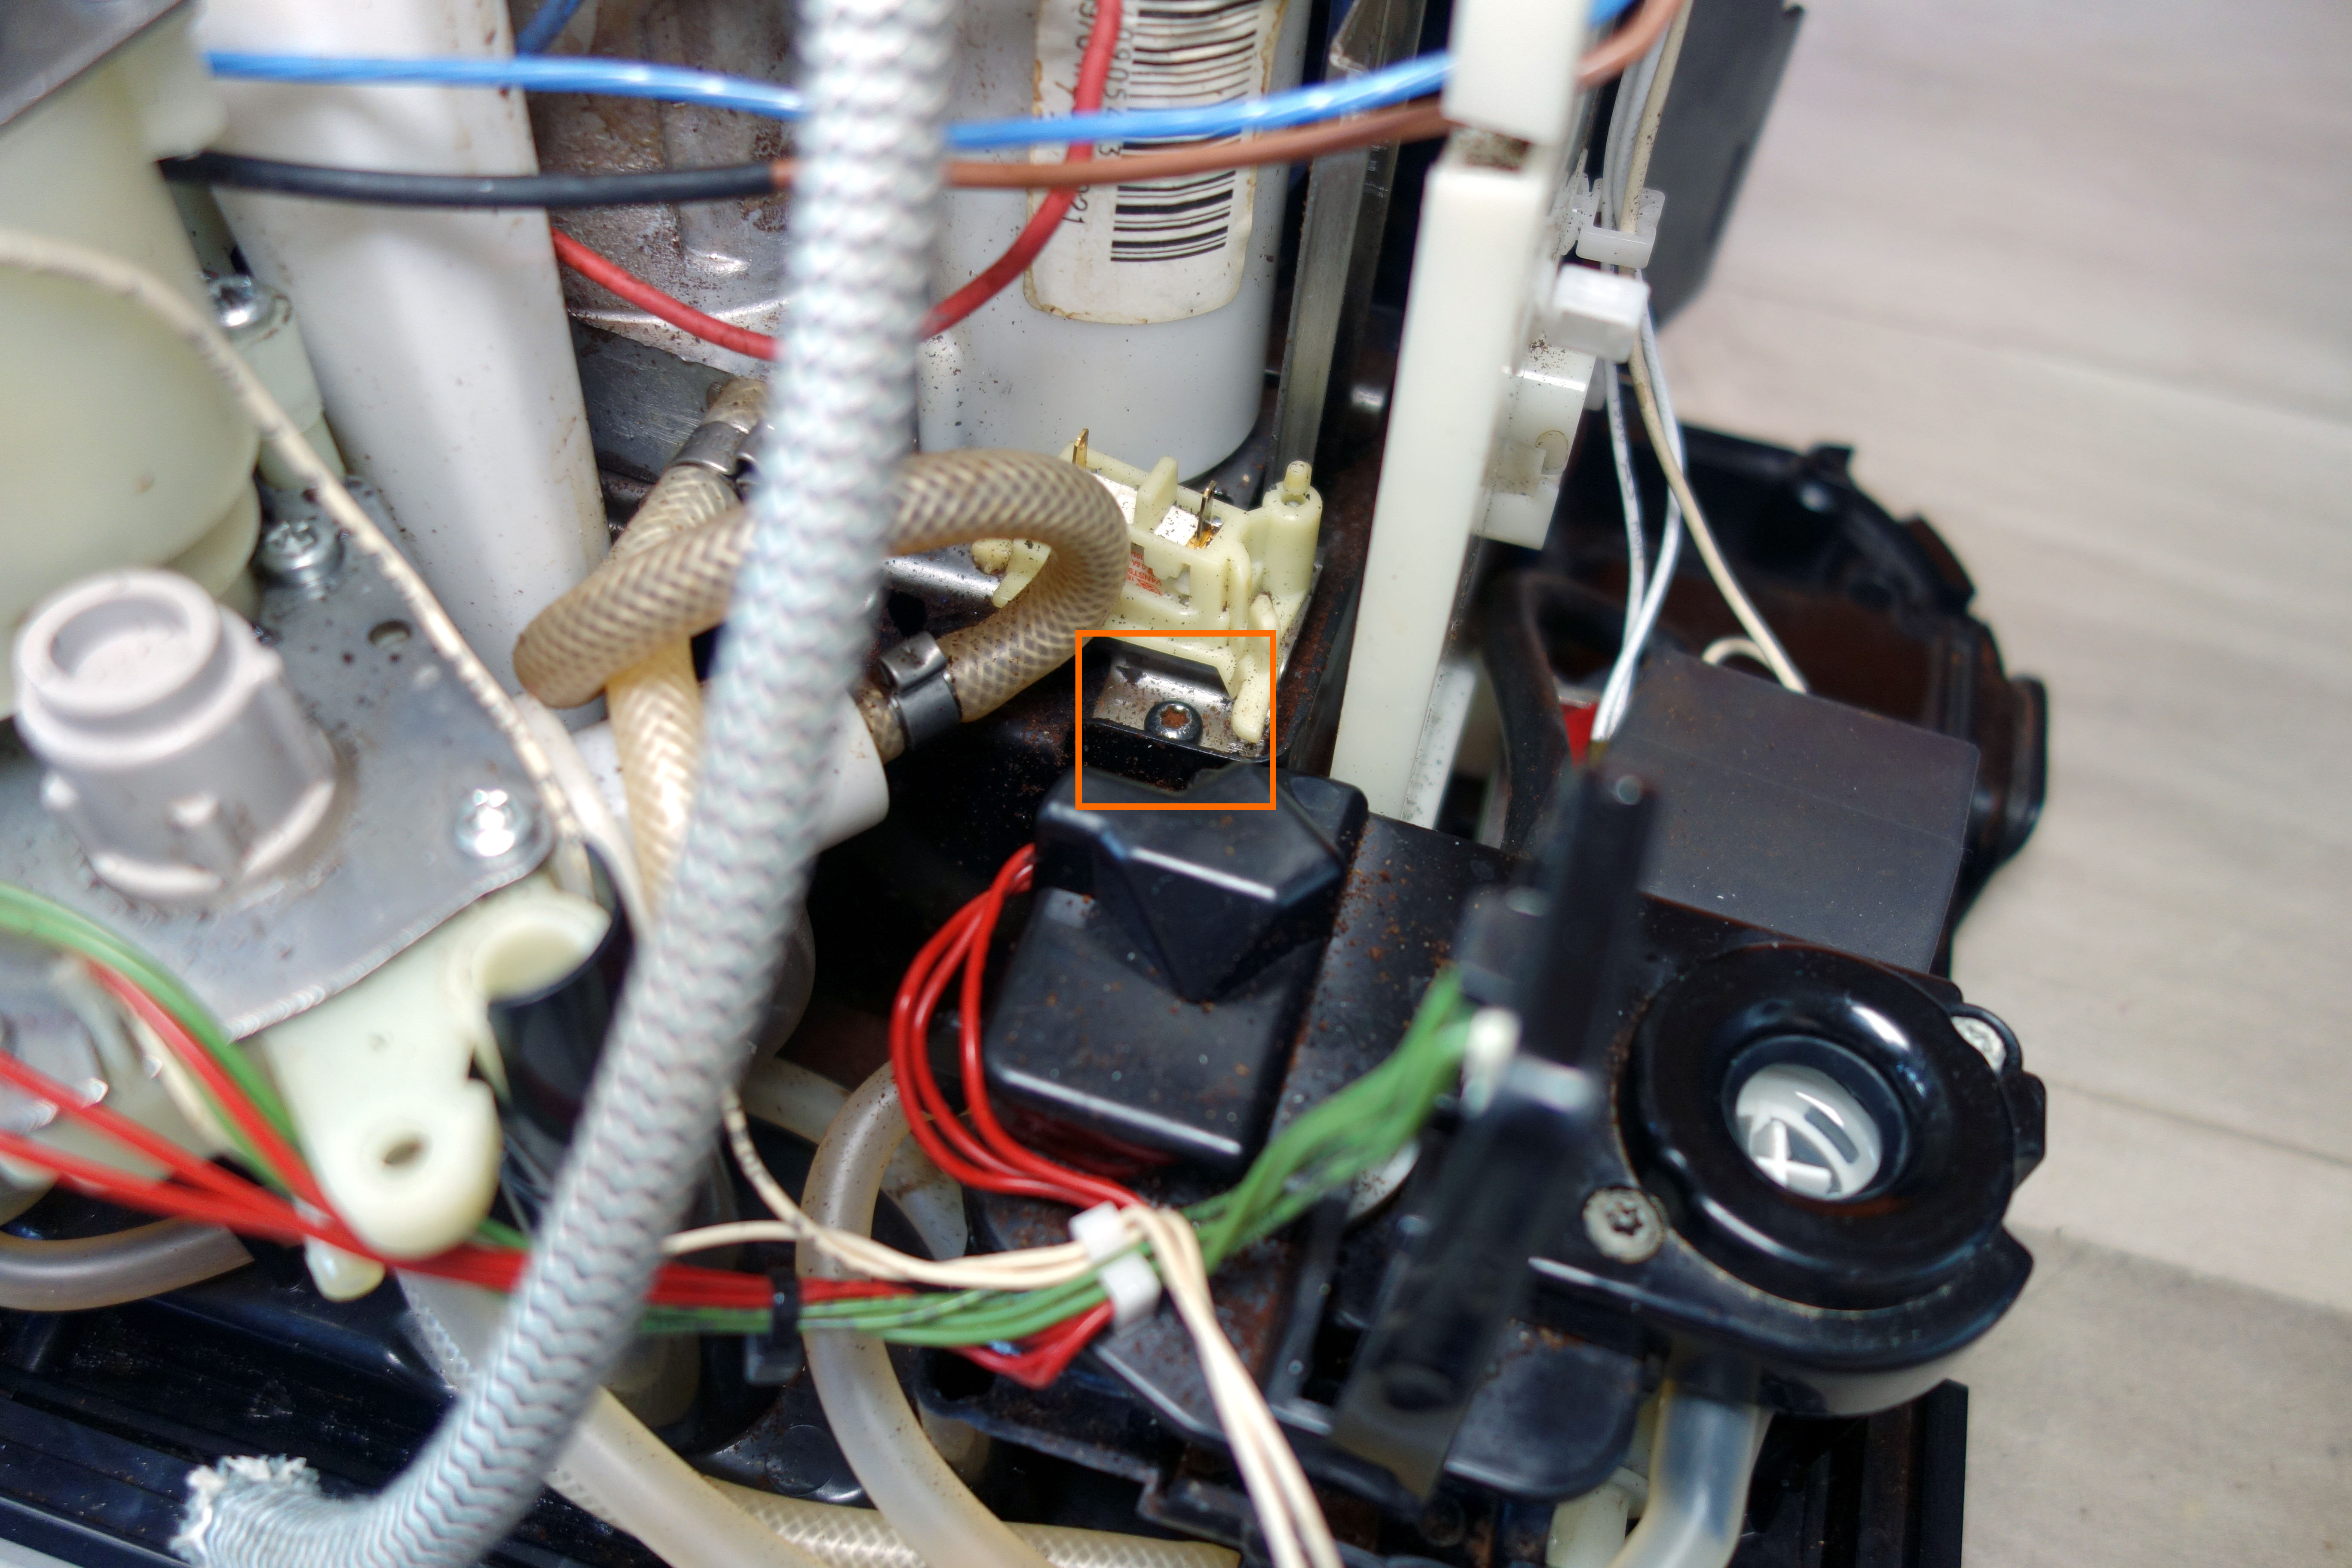
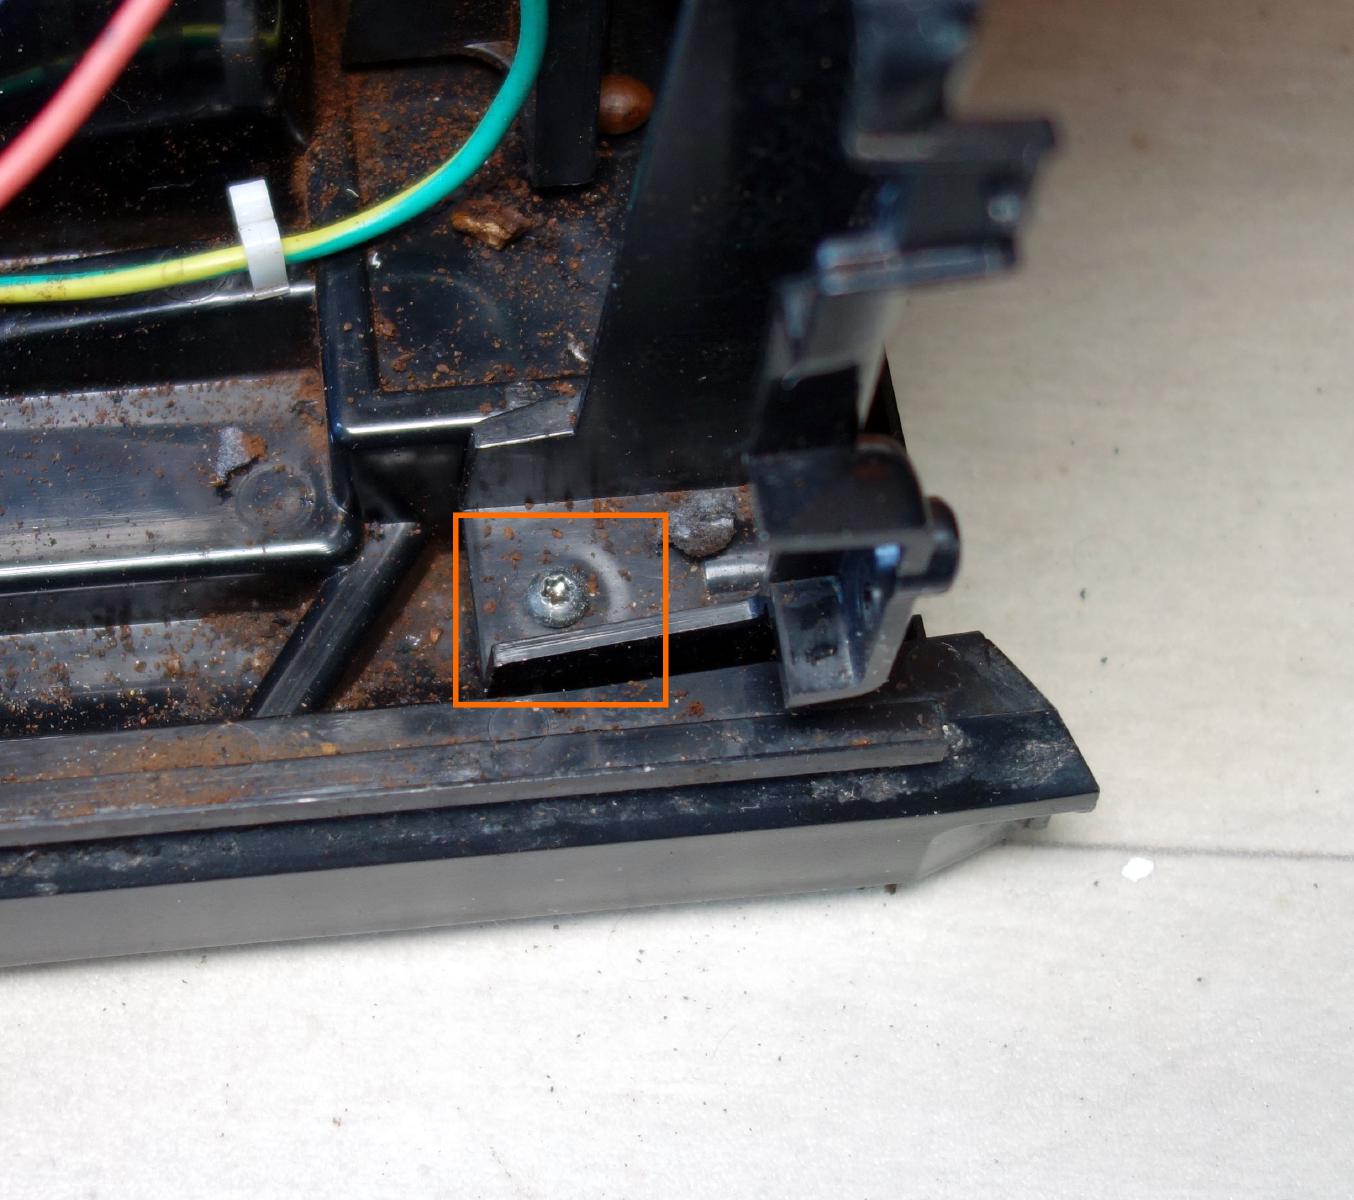
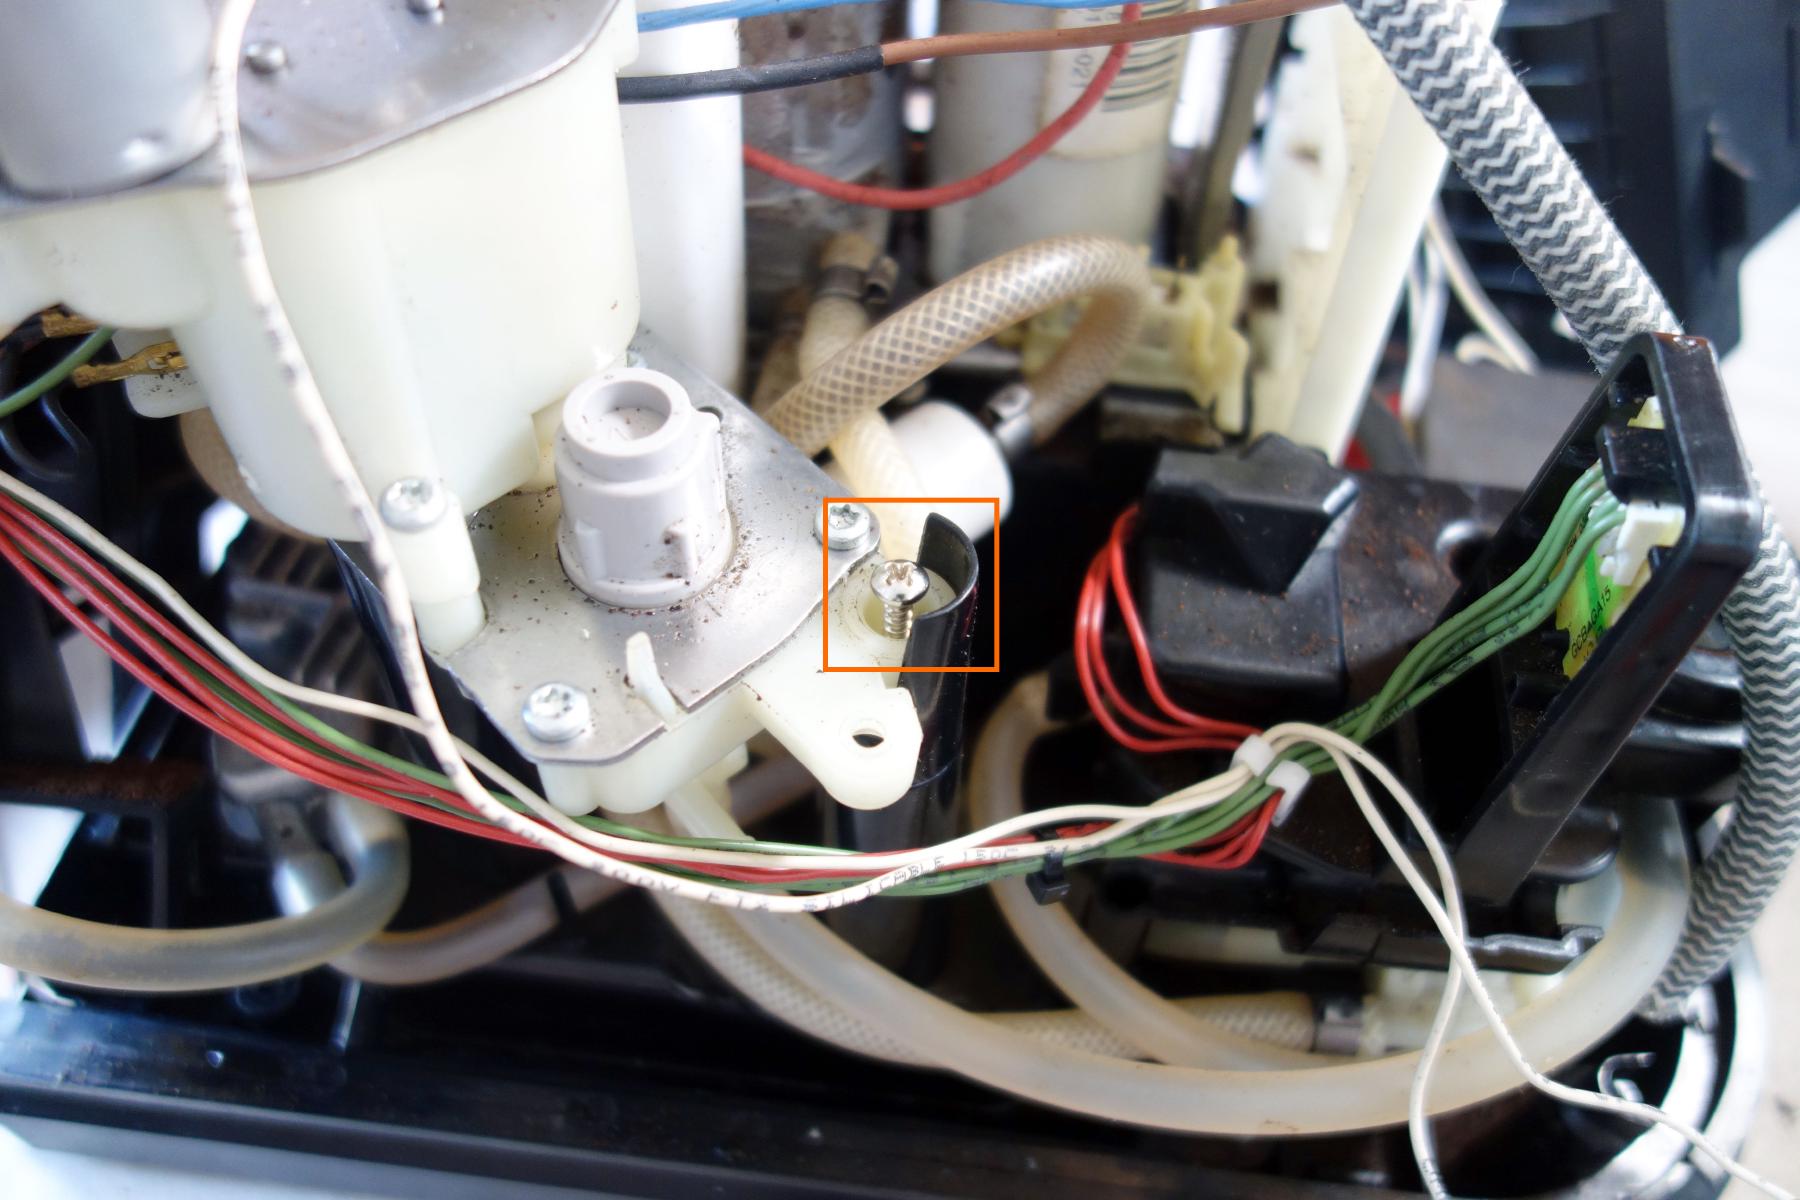
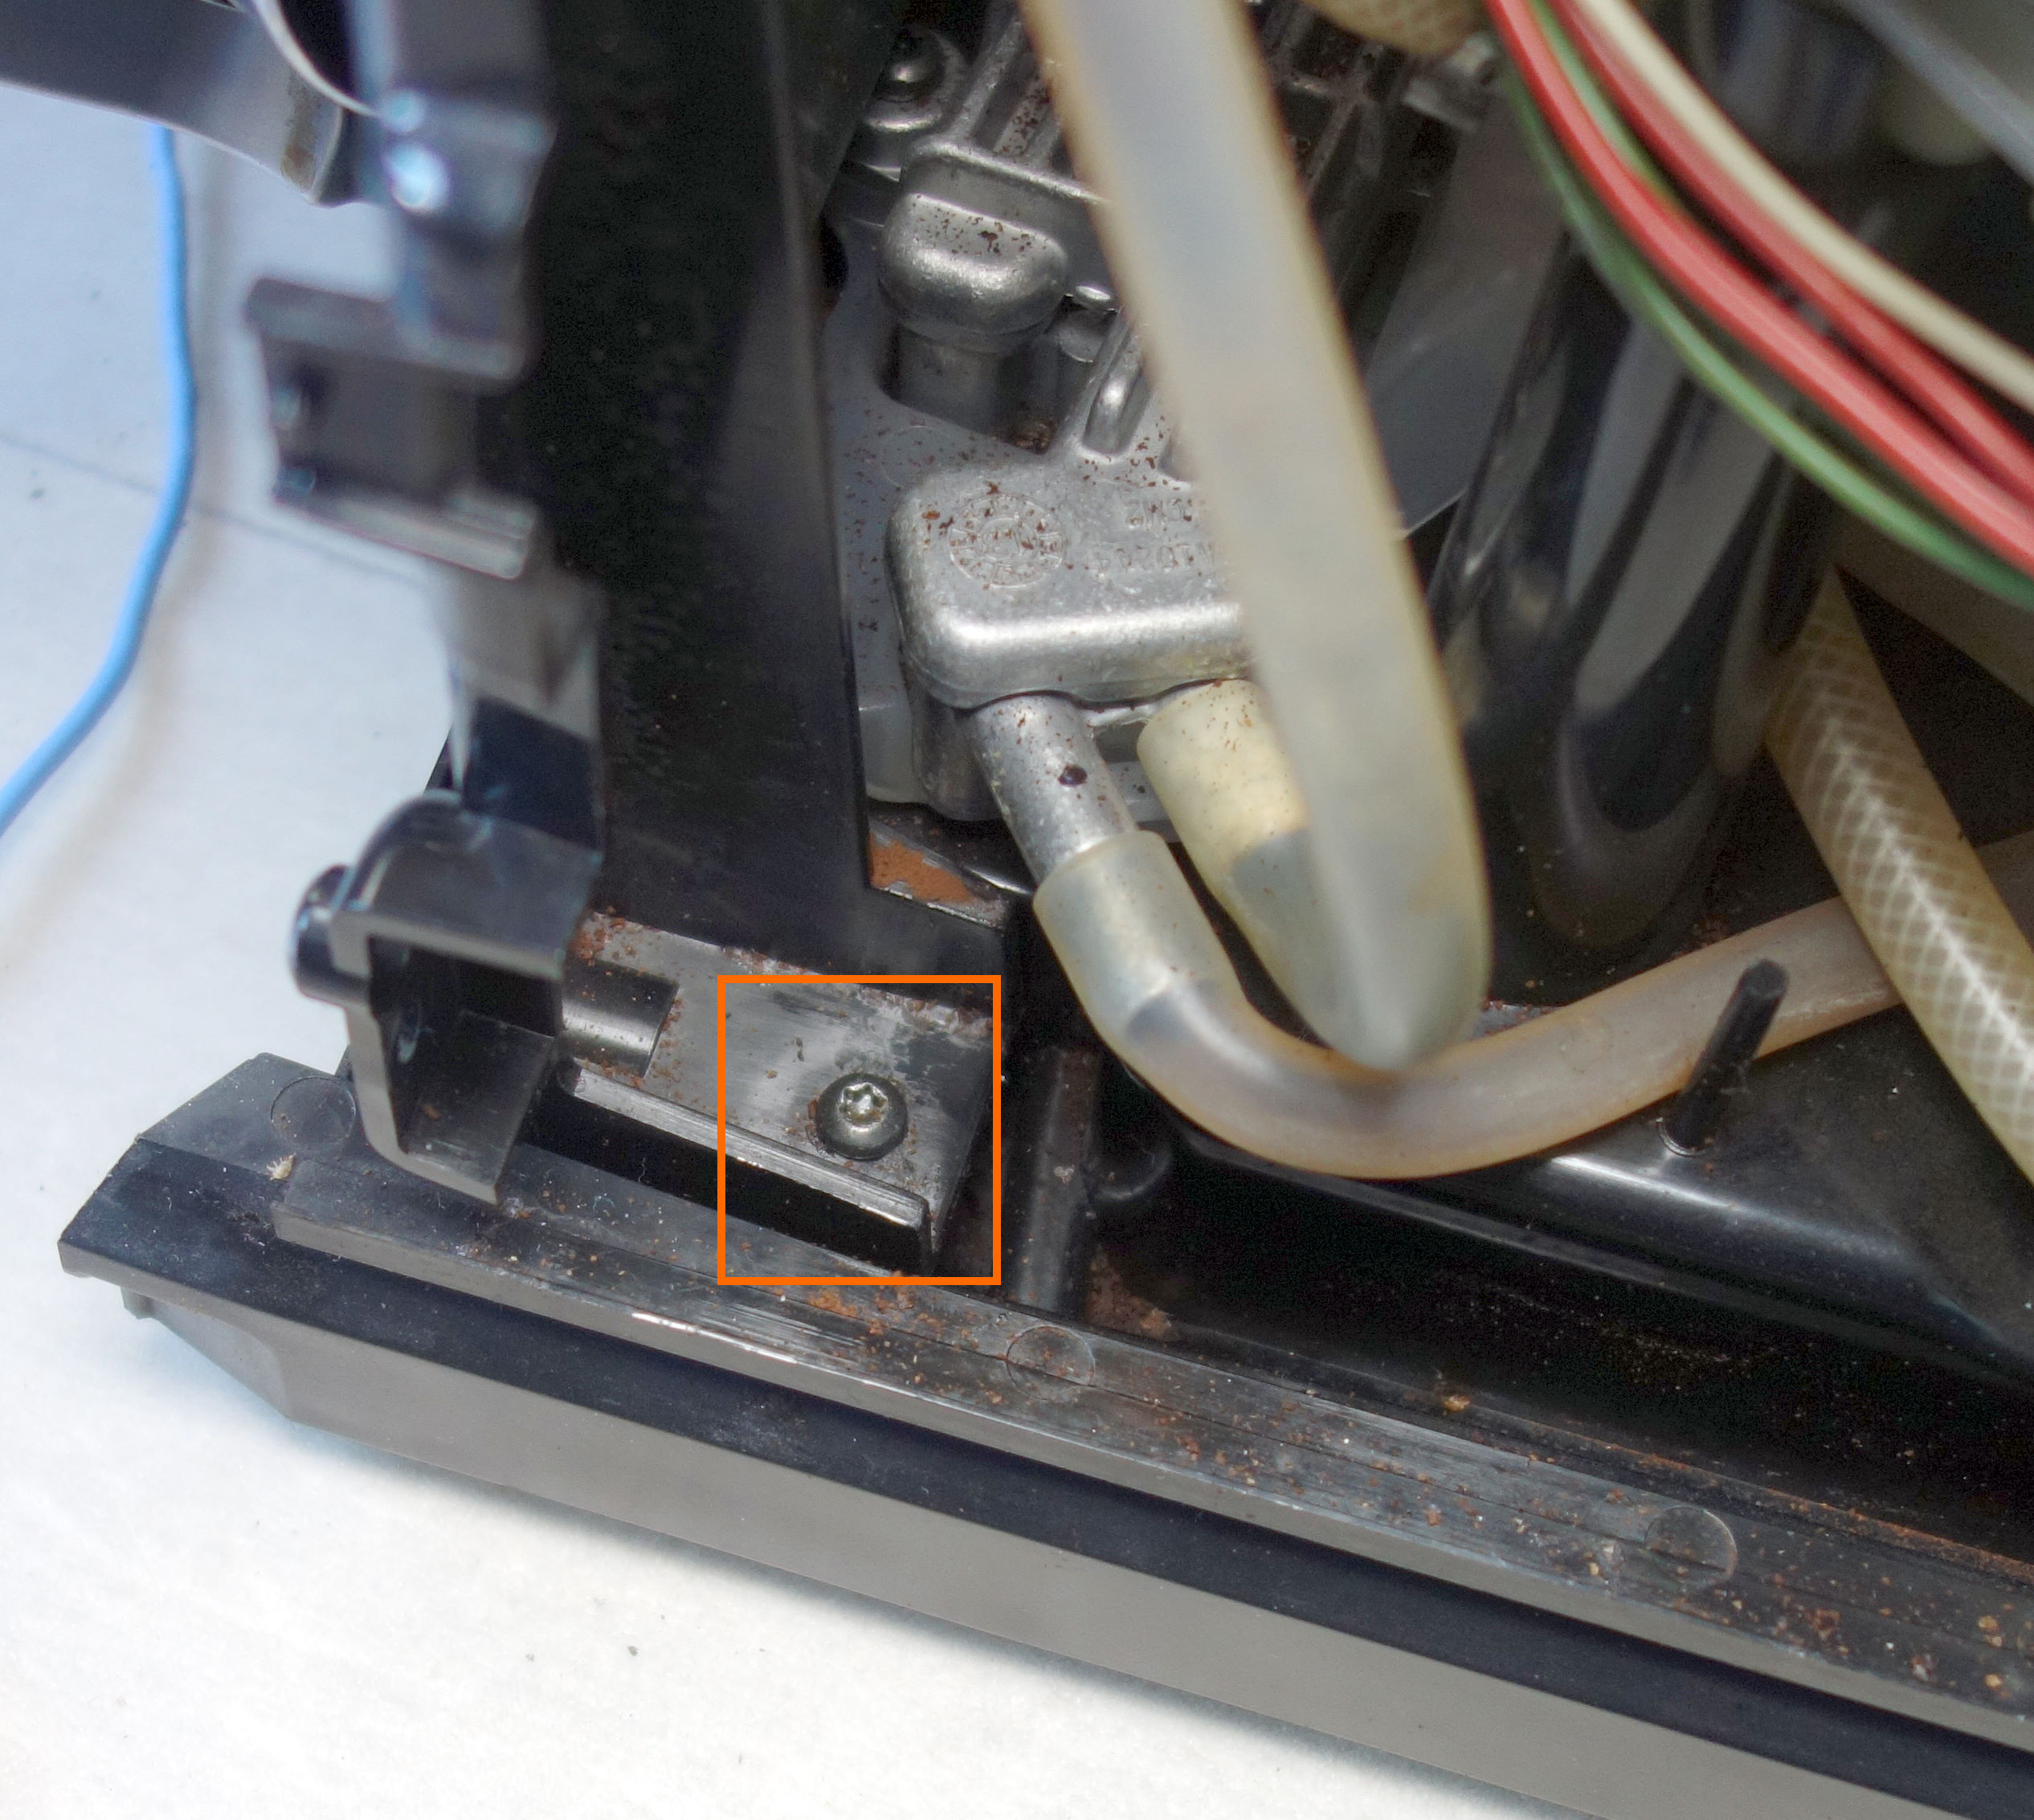
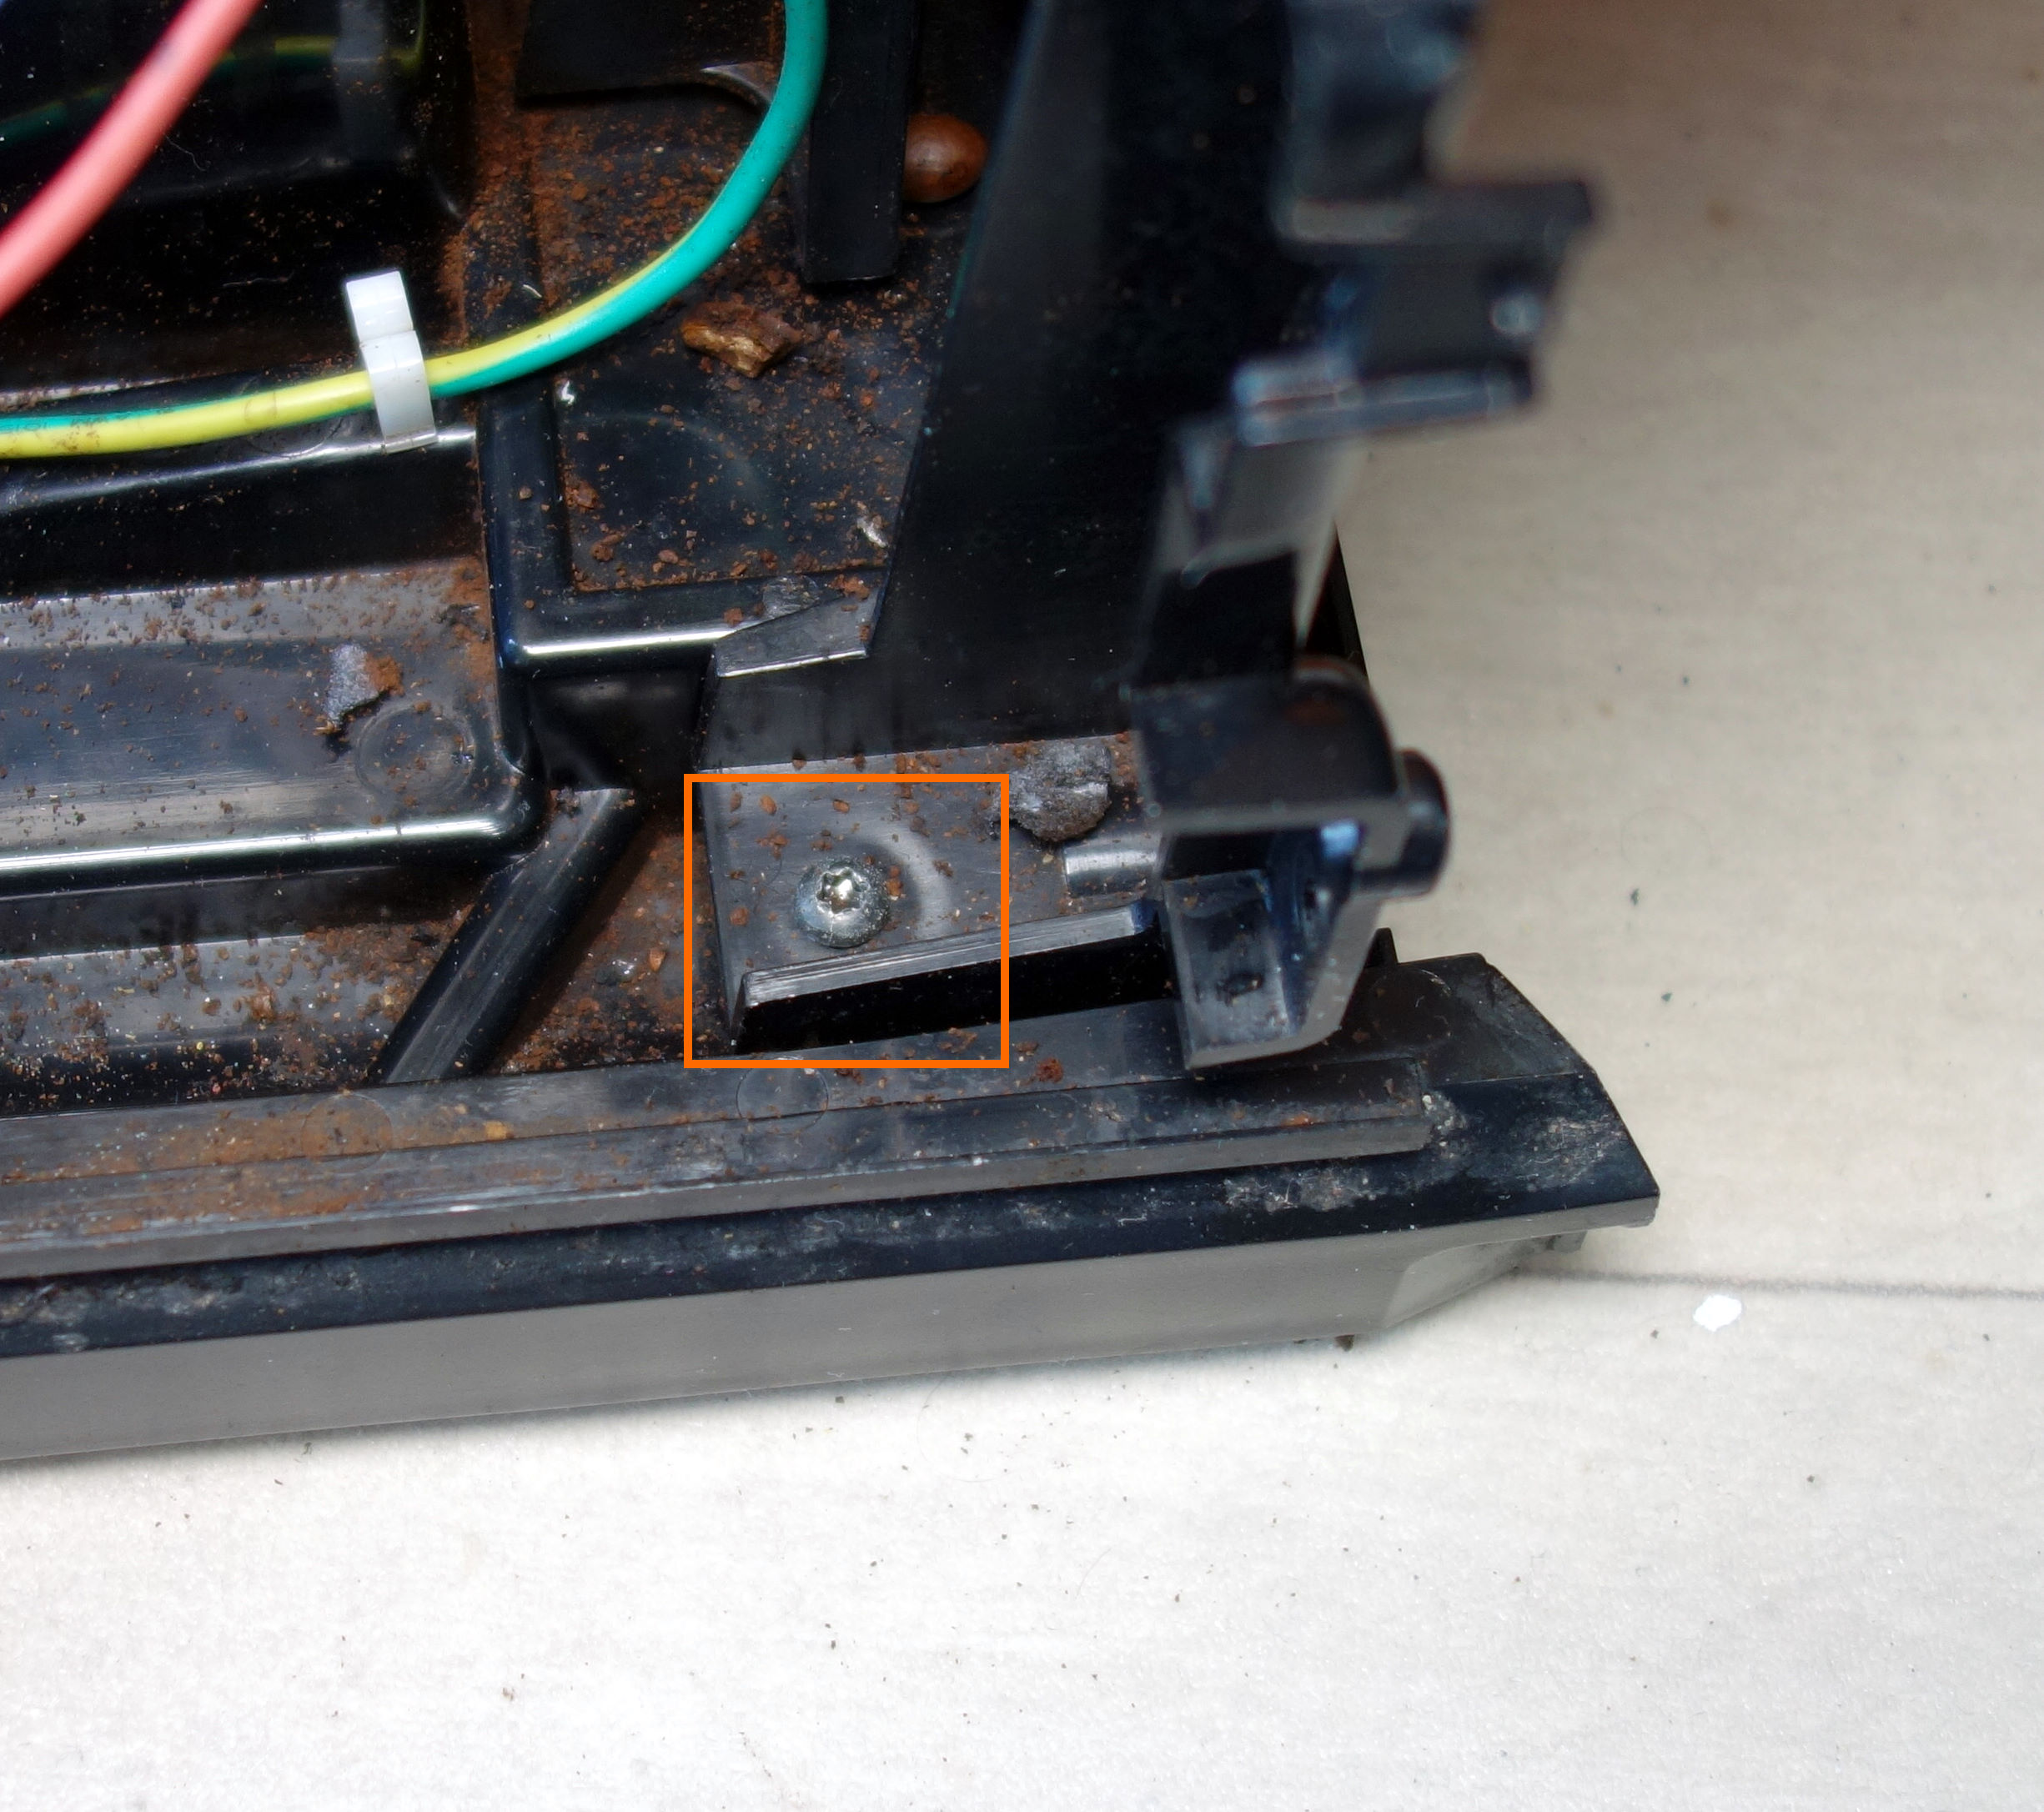
Remove the three screws from the boiler/piston assembly. One is located near the water inlet. The other two are located near the coffee waste tray.

Remove the distributor, this one is attached by a screw (there is only one crosshead screw on the machine!).
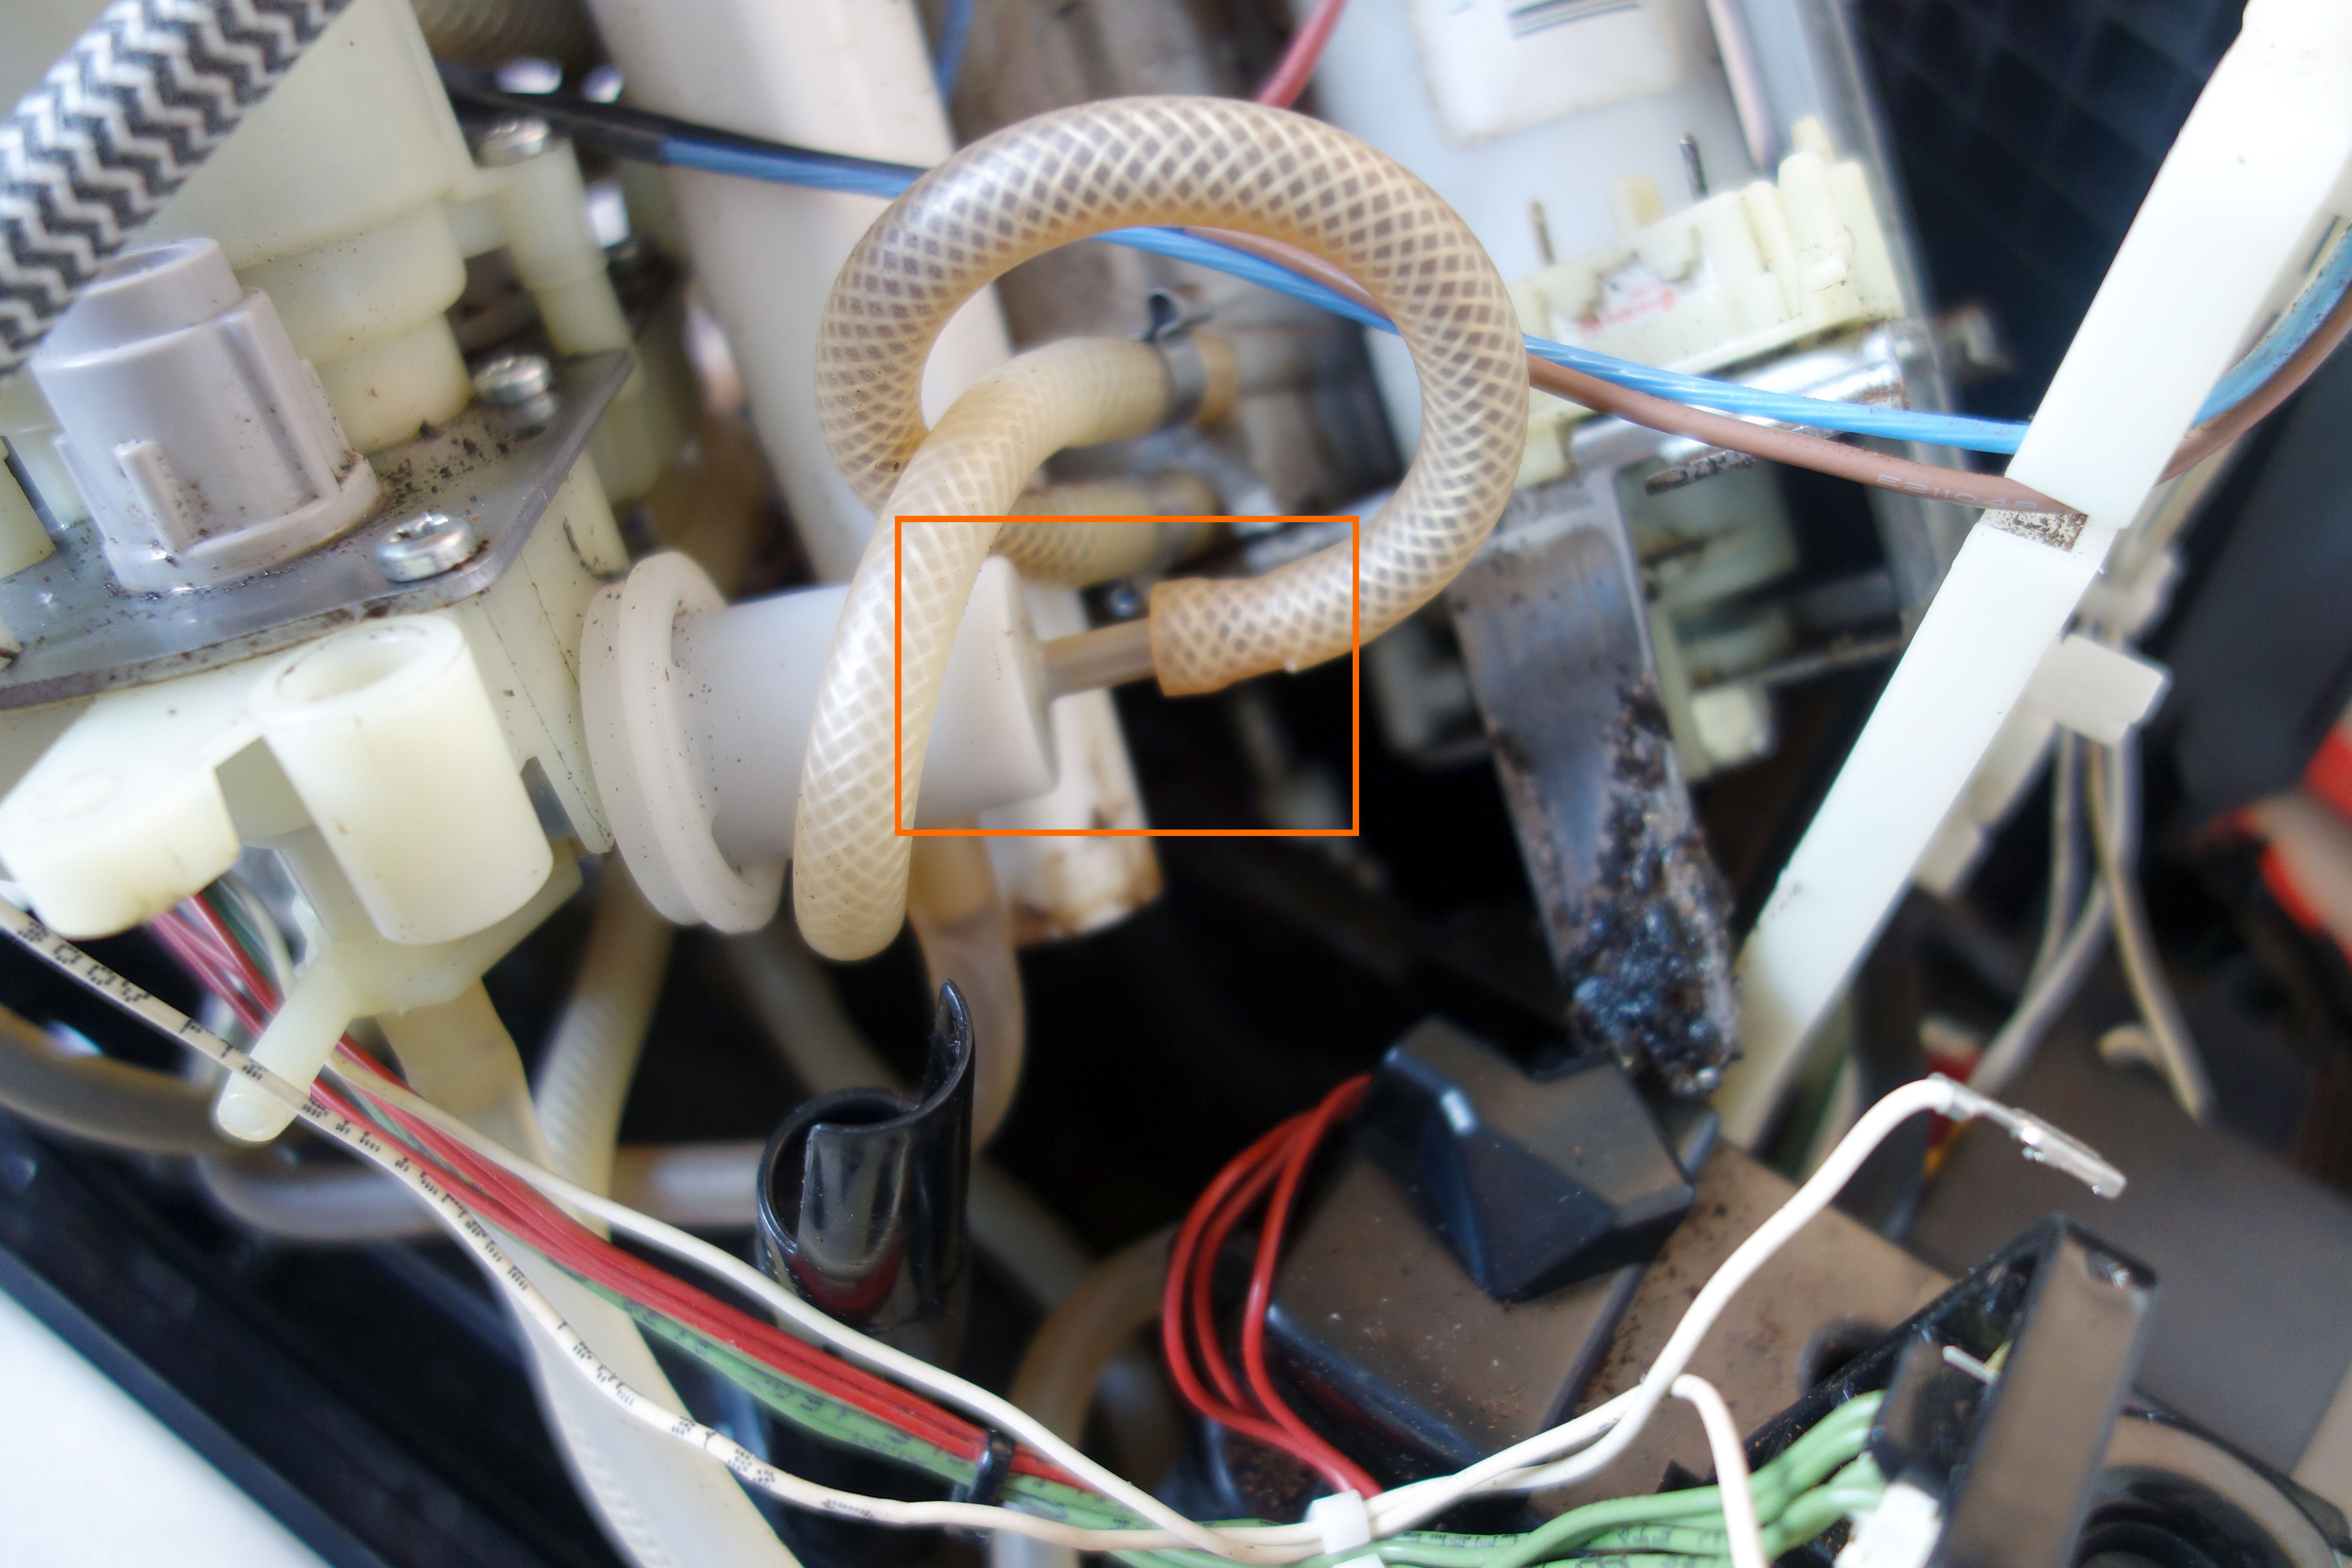
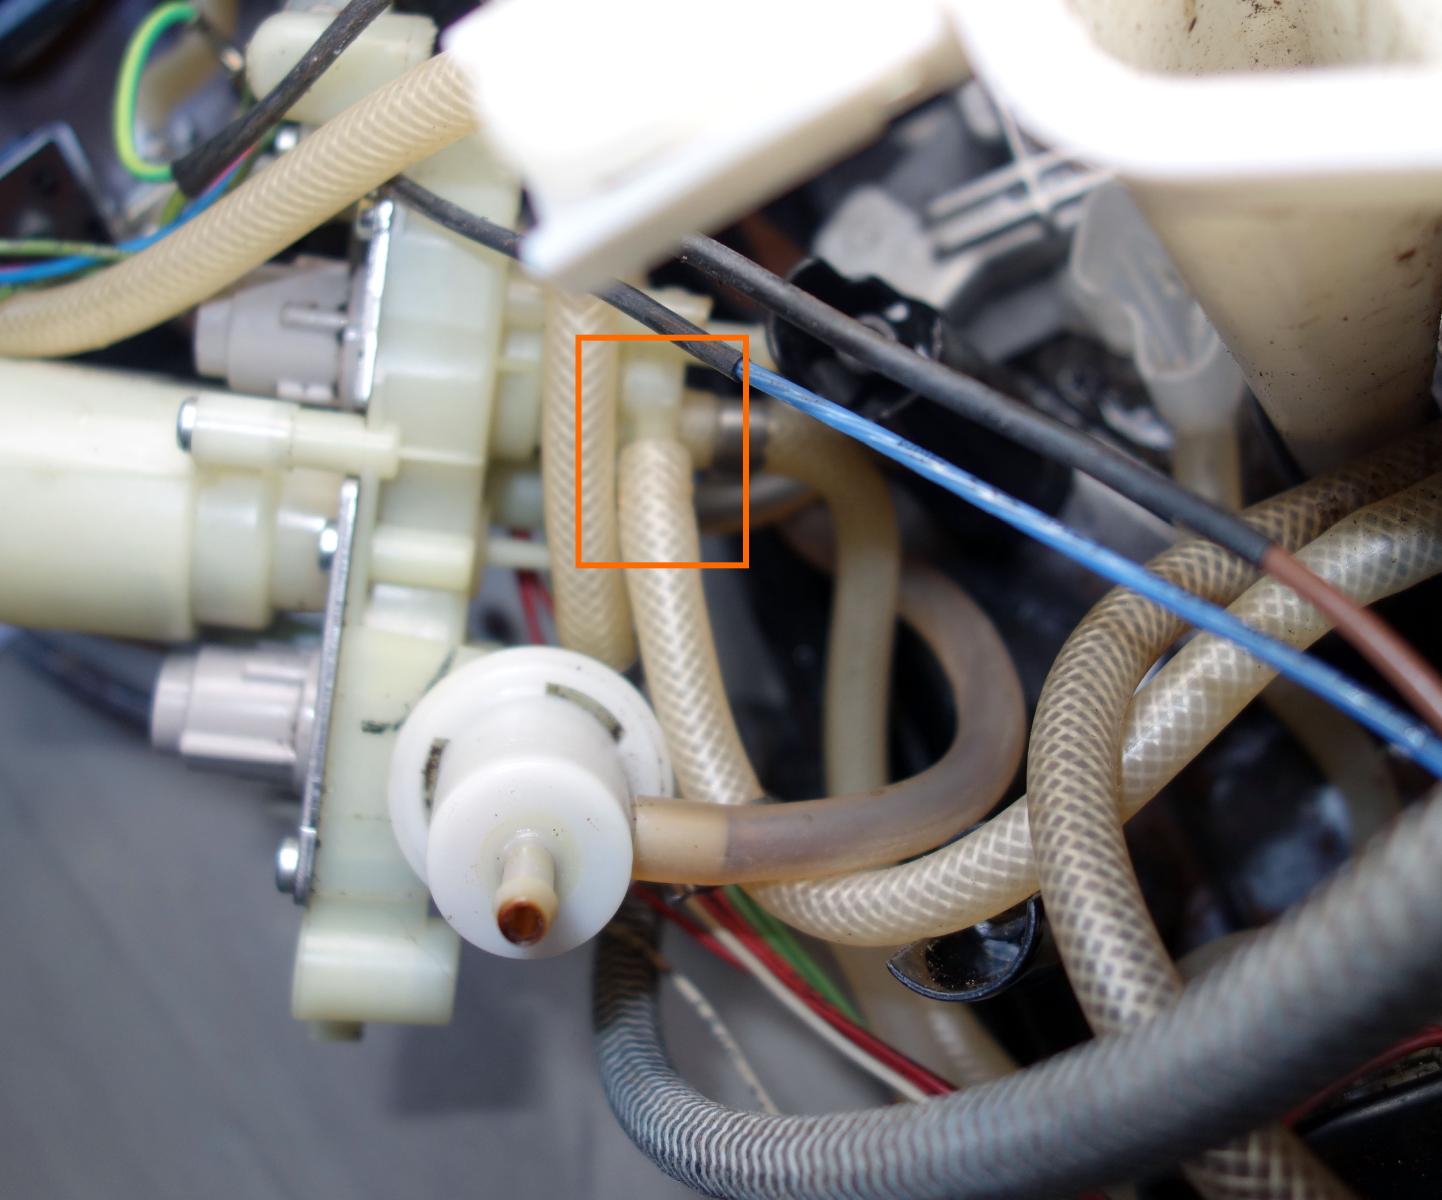
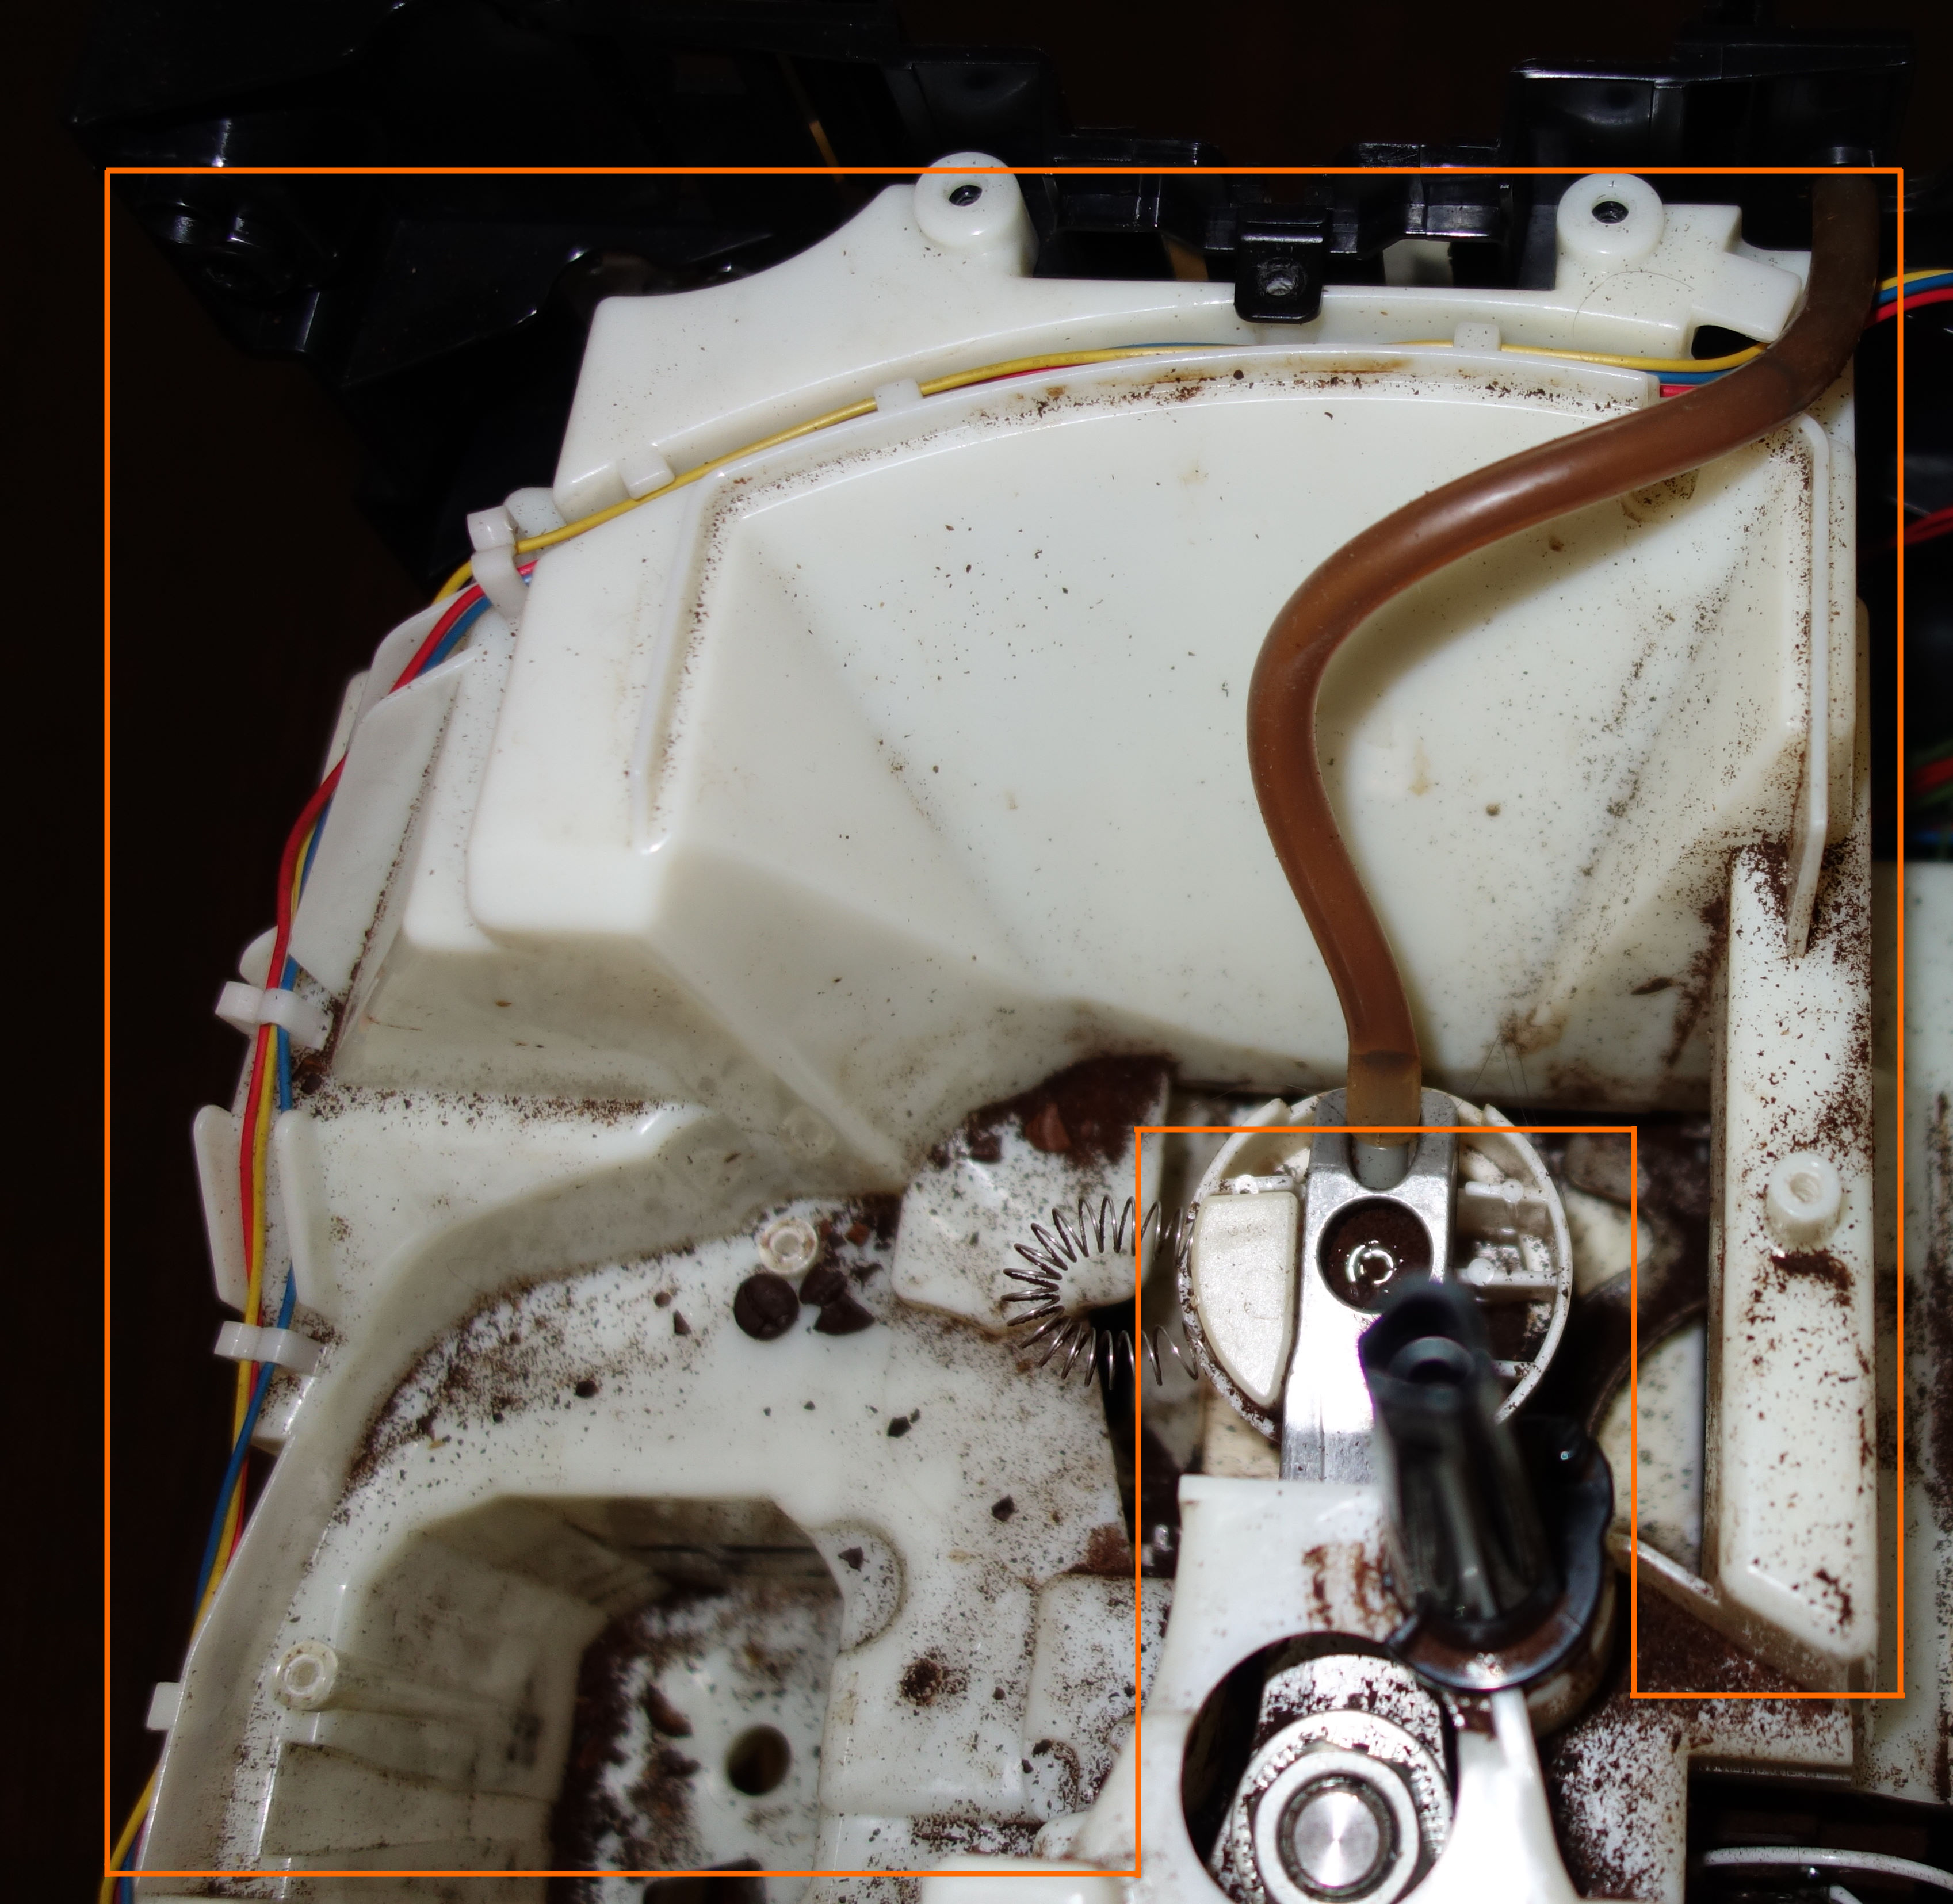
Disconnect the pipe from the bottom of the boiler, it connects to the cylinder shaped inlet of the distributor

Finally disconnect the middle pipe of the boiler, it connects to the bottom of the distributor
You can now remove the boiler and replace it.
Don’t forget to change the clamps !
Now you just have to do all the steps in reverse order.
Conclusion
Unfortunately, this time the repair is a failure for me 😭 😭.
One of the plastic fittings broke on the distributor 😡 This forces me to change the distributor which is a 70€ part. Unfortunately, I feel that my coffee machine is at the end of its life and starts to break on all sides. So I prefer to leave it at the waste disposal and find a new one. It will have lasted six years and about 6000 coffees. RIP!
In the meantime, I return the unused part to MPM for a refund.